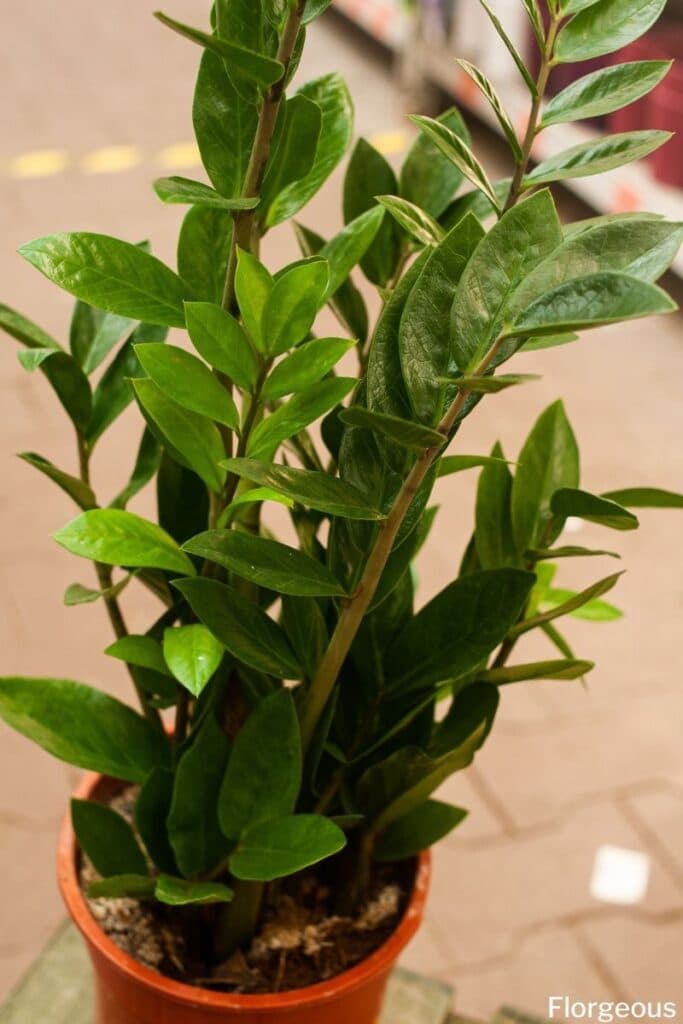
It’s not difficult to see why propagating new ZZ plants (Zamioculcas zamiifolia or Zanzibar Gem) is so desirable. These wonderful low-maintenance houseplants add great interest to your space, so why not grow a few more right? Read on to learn about 4 ways that you can propagate ZZ plants.
Growing ZZ plants requires you to know propagation methods. The first thing to understand when setting out to propagate ZZ plant is that these are slow-growing plants, so you will need a little patience. That is probably the hardest part of the process, so let’s go right ahead and look at the first method.
How to Propagate A ZZ Plant
Division
Dividing your plant is definitely the easiest way of turning one plant into two or more. You can do this at any time, but the perfect opportunity is when it’s time to re-pot since you’re going to be disturbing the plant anyway. It is best to do this during, or just before the start of the growing season in spring. At this time, the disturbance will have less effect on the plant.
Make sure that each plant that you separate has a healthy rhizome and good root growth. Instead of ‘up potting’ at this stage, you may need to plant your new plant in pots of the same size, or even smaller.
Stem Cuttings
ZZ plants can be grown from stem cutting as well. If you’re looking to make many new plants from just a single specimen, this is the best way to go. There is a downside, however, and that is the slow rate at which these indoor plants grow.
It can take as long as a year for your cuttings to root, so think of this as a long-term project. Even though ZZ plant growth is slow, this propagation method allows you to multiply your beloved plant for free.
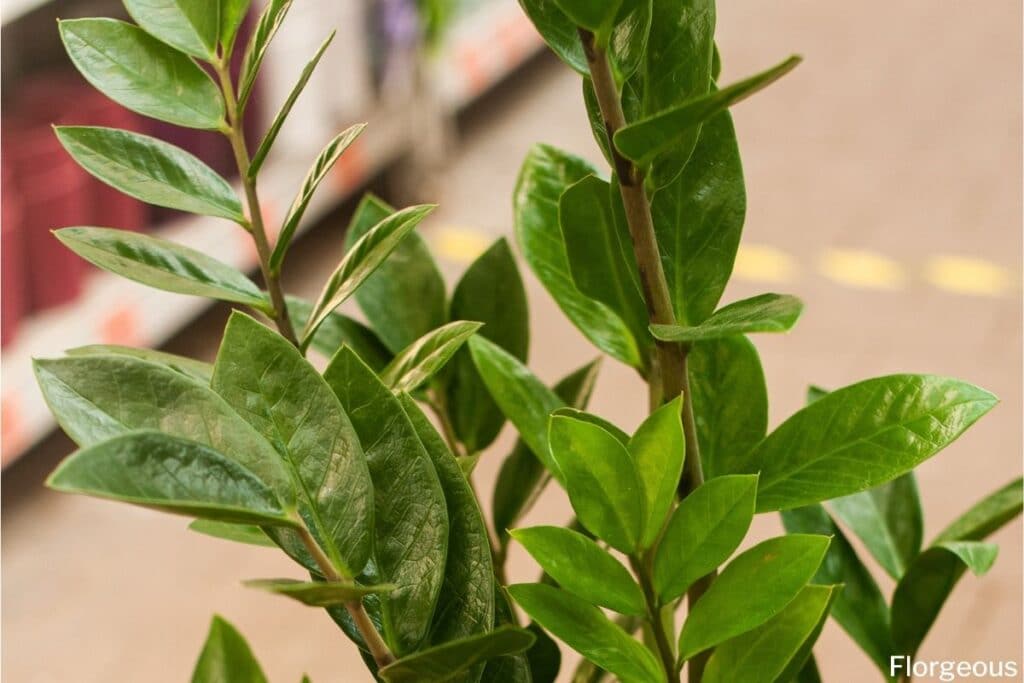
Before we get started, It is important to note that ‘stems’ of the ZZ plant are, in fact, rachises of compound leaves. Understandably, this might be a little confusing if you’re not familiar with botanical terms but it is really quite straightforward.
In the case of a ZZ plant with a single stalk, what you see growing from the soil is in fact a healthy leaf, consisting of a rachis and its leaflets.
Leaf Cuttings
A popular method of propagating ZZ plants is leaf propagation. Use a very sharp, and clean implement like a knife to cut the zz plant leaf just above the soil surface in your pot.
Set the cutting in a container with an inch or two (2.5-5cm) of water in it and wait for the cutting to develop roots. It’s just that simple, provided you change the water every few days and give the cutting a chance to develop roots of at least a couple of inches (5cm) before planting them out.
Leaflet Cuttings
Leaflet cuttings are another great way of propagating a new ZZ plant. Unfortunately, this technique can have a lower success rate and takes longer to form full-sized new plants. The benefit, of course, is that you are able to produce far more new plants using this technique as a single leaf tends to hold at least 12 leaflets.
The leaflets should be cut cleanly, and close to the rachis. Set the leaflets with their petioles down in a glass of water and allow the cuttings as much time as they need to produce roots of at least an inch (2.5cm) or so before planting them out.
In the case of both leaf and leaflet cuttings, the plants will need to be watered more frequently than the parent plant until they are established and growing from a healthy rhizome.
Growing From Seed
ZZ plants can, of course, be grown from seed as they do in nature. This is not difficult to do, provided you can get hold of the seeds. Since many of these plants never flower and produce seed in the home setting, the seeds can be hard to get hold of unless purchased online for example.
FAQs
Will a ZZ plant root in water?
ZZ plants can root in water, although they may take longer compared to rooting in soil. Place the cuttings in a container with water, ensuring the nodes are submerged, and wait for roots to develop.
Can I propagate a broken ZZ plant stem?
Yes, you can propagate a broken ZZ plant stem. Simply allow the cut end to callous over for a few days, then place it in well-draining soil. Keep the potting soil lightly moist and provide indirect light until roots develop.
How do I get my ZZ plant to grow more stems?
To encourage your ZZ plant to grow more stems, ensure it’s placed in a location with bright, indirect light. Avoid overwatering, as ZZ plants are sensitive to soggy soil. Prune any dead or yellowing stems, which can stimulate new growth. Additionally, providing occasional fertilization during the growing season can promote healthy zz plants.
Conclusion
Propagating your own ZZ plants at home can be a very easy and rewarding process that anyone can do. Just be aware, of course, that you are not legally allowed to propagate plants that have registered trademarks. So why not roll up your sleeves and start a fun new project? All you need to do is follow the steps in this article and have a little patience. Have fun!