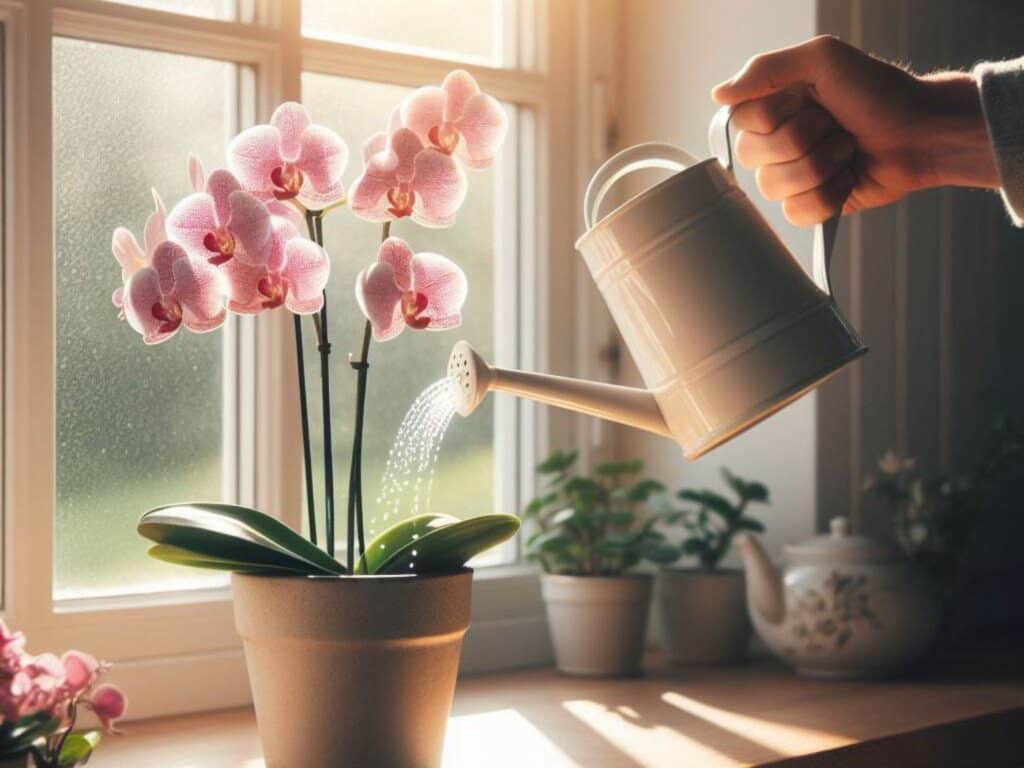
Have you ever watched your once-thriving orchids start to wilt and wondered where things went wrong? Overwatering is a common misstep that can lead to serious health issues for these delicate plants. Understanding the balance between too much and just enough water is crucial for keeping your orchids flourishing.
In this article, you’ll uncover the signs of overwatering, learn why it’s harmful, and most importantly, discover how to rescue and revive your overwatered orchids.
With the right knowledge and care, you can turn around the health of your plants and enjoy their beauty for years to come. Let’s dive into the solutions that will bring your orchids back to life and ensure you’re equipped to prevent future watering mishaps.
Recognizing Overwatered Orchids
Signs of Excess Water
Identifying overwatered orchids starts with noting the signs of too much moisture. Yellowing leaves often serve as the first clue; they signal that the roots can’t transport nutrients effectively.
Soft, mushy roots visible through the potting medium or pot indicate that water’s been hanging around too long. If you see these symptoms, it’s time for a rescue operation. Paying attention to these indicators can save your orchids from taking an unintended swim.
Long-Term Damage to Roots
Continuous overwatering leads to root rot, a silent killer in the orchid world. This condition transforms healthy, green roots into dark, slimy strings that lack the strength to support plant life.
Without intervention, affected orchids face a grim future, struggling to absorb water and nutrients. Spotting these signs early can make all the difference. Keep an eye out for any drastic changes in your orchid’s root system, and act quickly to mitigate damage.
Immediate Steps to Save Overwatered Orchids

Draining Excess Water
First things first, let’s get rid of that extra water. Gently remove your orchid from its pot; this allows you to assess the situation and act fast. Tip the pot over, cradling the orchid in your hands to ensure no additional strain on the plant.
Let gravity do its job, allowing excess water to escape. A towel can come in handy to dab away standing water from the roots and pot. Getting this step right sets the stage for a successful recovery, removing the immediate threat to your orchid’s well-being.
Root Pruning Techniques
Onto a slightly trickier part—root pruning. Inspect the orchid’s roots carefully; healthy ones typically appear firm and greenish-white. If you spot any roots that are brown, mushy, or seem to disintegrate upon touch, it’s time for them to go.
Using sterilized scissors or pruning shears, snip the damaged roots, leaving only the healthy tissue. This may well feel a bit surgical, but it’s crucial for rehabilitating your overwatered friend.
After pruning, consider applying a fungicide to the cut areas to prevent infection, but don’t overdo it. Repot the orchid in fresh, well-draining medium to give it a fresh start. Remember, precision and timely action are your best allies in saving your overwatered orchids.
Preventive Measures for Watering Orchids
Understanding Orchid Water Requirements
Orchids aren’t your average houseplants and their water needs differ significantly. These plants thrive on a balance, requiring just enough moisture without being soaked. Key to their care is recognizing that their roots need air as much as they need water.
Overwatering suffocates these roots, leading to ill health. To keep your orchid in tip-top shape, familiarize yourself with its specific variety as water needs can vary greatly. Generally, allowing the growing medium to dry slightly between waterings proves beneficial.
Best Practices for Watering Schedule
Creating a consistent watering schedule is crucial but remember, flexibility is your friend here. A common recommendation is watering once a week, yet this fluctuates based on factors like humidity, temperature, and the type of orchid. Instead of sticking rigidly to a calendar, check the moisture level of the growing medium. If it’s dry an inch below the surface, it’s time to water.
Also, always use lukewarm water to avoid shocking the plant’s roots. Adjust your watering frequency with the seasons – orchids typically need less water in the cooler months.
Remember, when in doubt, it’s better to under-water than over-water. Over-enthusiasm with the watering can is a surefire way to drown your orchid’s sorrows, quite literally.
Tools and Techniques for Proper Orchid Watering
Choosing the Right Pot and Soil
Selecting an appropriate soil and pot for your orchids plays a critical role in their survival. For pots, transparency is key. A clear pot allows sunlight to reach the roots, simulating a more natural environment.
Additionally, ensure the pot has ample drainage holes. This feature aids in preventing water from pooling at the bottom, a common culprit in overwatered orchids. As for soil, opt for a specialized orchid mix. This airy medium provides the roots with the necessary balance of moisture and airflow, reducing the risk of root rot.
Moisture Meters and Watering Devices
Investing in a moisture meter can be a game-changer for maintaining the health of your orchid. This simple tool takes the guesswork out of watering, offering a precise measurement of the soil’s moisture levels.
With this information, you can accurately determine when your plant requires water, effectively avoiding overwatering. On the watering front, consider using a watering can with a long, narrow spout. This design allows for targeted watering at the base of the plant, minimizing moisture on the leaves and reducing the likelihood of fungal diseases.
Additionally, for those who often find themselves away from home, a drip irrigation system may well be worth exploring. This setup ensures your orchids receive a consistent amount of water, mimicking their natural rainforest habitat.
Reviving and Caring for Orchids Post-Water Damage
Fostering Root Recovery
After discovering your orchid has been overwatered, the first step involves addressing the root of the problem—literally. Remove the orchid from its current pot and gently clean off the soggy medium from the roots.
This allows you to assess the damage. If you find brown or mushy roots, it’s time to break out the scissors. Trim these damaged parts carefully, leaving only healthy, green roots behind.
Remember, it’s like giving your orchid a haircut; you’re getting rid of the unhealthy parts to promote new growth. After the trim, repot your orchid in fresh, specialized orchid mix soil, ensuring good drainage and aeration.
Adjusting Light and Temperature
Light and temperature play crucial roles in your orchid’s recovery process. Orchids thrive in bright, indirect light. Finding a spot that mimics the filtered light of a forest canopy is key.
Too much direct sunlight can cause further stress, while too little light won’t help your orchid in regaining its strength. As for temperature, aim for a warm spot with consistent conditions.
Dramatic shifts can hinder recovery, so think “tropical stability.” Summer days inside your home usually offer the ideal conditions, but watch out for cold drafts or too much AC, as these can be setbacks in your orchid’s journey back to health.


