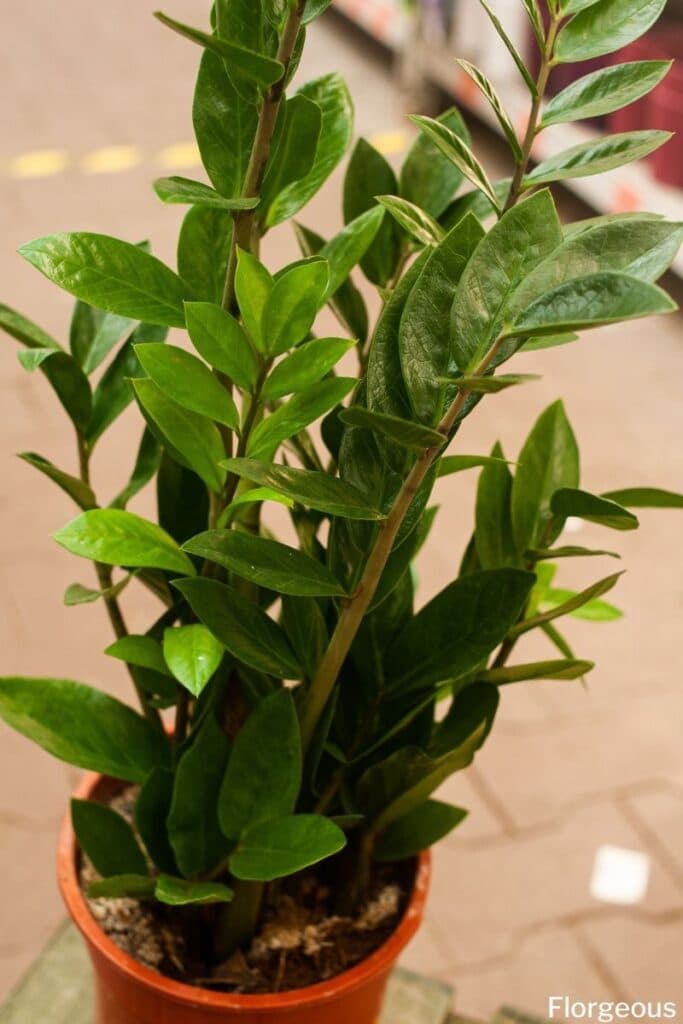
There comes a time in the life of all healthy houseplants when they outgrow their pots and need to be rehomed. If you’ve never repotted a ZZ plant (Zamioculcas zamiifolia) before, don’t worry, it’s very straightforward and in this article, you’ll learn the procedure step-by-step.
Why Is Repotting ZZ plants Important?
In order for your ZZ plant to grow, the space around its root mass has to be increased from time to time. ZZ plants grow from surprisingly impressive root systems. Many growers do not realize how root-bound these plants are until their containers begin to bulge out.
The size of the root system is not the only reason to repot your ZZ plant, however. The fresh potting soil will also naturally break down in time and need to be replaced. Another reason you may need to repot this species is if you are propagating Zanzibar Gem plants, or need to treat a condition like root rot.
When Should You Repot Your ZZ Plant?
Your plant (or its container) will give you signs to show you when it is time to re-pot. Eventually, you will notice the pot become misshapen by the extensive root system and underground rhizomes pressing against its inner walls. You might also notice that the plant fails to put on new growth when expected.
So does ZZ plant like to be root bound?
No, other typical signs that your plant might need to be repotted include roots that are growing out of the drainage holes at the bottom of the pot or if the pot is so rootbound that the water does not drain into the soil! You may also be picking up problems with drainage and decide to change the soil to fresh potting mix that is more suitable for this plant. ZZ plants thrive even in almost complete shade.
Unless there is an emergency, the best time to repot zz plants is during the spring, or perhaps the fall. At these times, the plants are actively growing and will recover easily from the shock of being moved around. During the summer and winter months, the plants are more sensitive because they may already be under stress from the extremes of temperature and day length.

How To Repot Your ZZ Plant
Now that you know when to repot your ZZ plant, let’s take a look at the steps you will need to take:
Plan Ahead
Make sure you have a pot ready and some good quality, fast-draining soil. Water the plant well the day before repotting to get it ready for the big move.
Remove Your Plant From Its Old Pot
Loosen the pot from the zz plant’s soil and remove the plant. Once it is free, loosen the roots a little, and remove any damaged or rotten roots. If you are going to be repotting into the same container, or a new one of the same size, you may wish to remove some of the roots. Try not to remove more than about 20% of the roots and never damage the larger roots growing directly from the rhizome.
Change The ZZ plant’s Soil And Re-plant
Remove most of the old soil from the root system, being careful not to damage the roots. Fill the bottom of the pot to compensate for the depth increase if you’re using a deeper pot. Lightly tamp down the new soil, to settle it, but do not compact it.
Next, place the plant onto the new soil and fill the soil in around the root ball. Tamp down the soil lightly as you go along, to prevent the formation of air pockets. Replace the soil to the same level on the plant as before, being careful not to bury the crown of the plant.
Make sure you leave the lip of the pot above the soil line so that the water does not spill out of the pot. ZZ plants store water in their rhizomes, which are bulb-like structures that grow above the roots but below the soil. These rhizomes slowly release water as the plant needs it. Lastly, give the plant some water and let it enjoy its new home!
Choosing A New Pot
When moving your ZZ plant to a new pot, don’t be tempted to switch to a much larger pot. Rather select a new pot that is just a size or two larger than the original. The reason for this is to prevent a large volume of soil from remaining wet for too long and potentially damaging these drought-resistant plants.
Make sure that the new pot has drainage holes to allow excess water to escape. Terracotta or unglazed ceramic is a great option because these porous materials help the soil mixture breathe, preventing the roots from remaining too moist. Another good option is to root the plant in a plastic nursery pot with good drainage and then set that pot into a more ornamental container.
In terms of container shape, the fleshy stem-like rachises of the ZZ plant can make it a little top-heavy, so a pot with some weight is usually a safer bet.
FAQs
When should you repot a ZZ plant?
ZZ plants should be repotted when their roots have filled the current pot, typically every 2-3 years. Repotting is best done in spring or early summer when the plant is actively growing.
Do ZZ plants like to be rootbound?
ZZ plants can tolerate being slightly rootbound, but they generally prefer a bit of room for their roots to grow. While they can survive in a rootbound condition, it’s still beneficial to repot them periodically to refresh the soil and provide more space for growth.
What kind of soil does a ZZ plant need?
ZZ plants prefer well-draining soil that is rich in organic matter. A good potting mix for ZZ plants consists of a combination of peat moss, perlite, and coarse sand or orchid bark to ensure adequate drainage.
How do I get my ZZ plant to stand up?
If your ZZ plant is leaning or falling over, it may need additional support. You can gently stake the plant upright using a stake or bamboo rod inserted into the soil near the base of the plant. Be careful not to damage the roots. Additionally, ensuring the plant receives sufficient light can help promote stronger, more upright growth.
Conclusion
Repotting can be a little stressful, especially if it is your first time. It’s not that tough at all though and it can be a great way to learn more about your plant. When the time comes, follow the steps in this guide with confidence for a smooth repotting of your ZZ plant.
See more: ZZ plant soil


