Discovering your orchid’s leaves turning yellow can be disheartening, especially when you’ve invested time and care into nurturing your plant.
This common issue among orchid enthusiasts often signals that your plant is under stress, but it doesn’t necessarily mean it’s too late to save it. Understanding the underlying causes is the first step toward reviving your vibrant orchid back to health.
In this guide, you’ll learn about the various factors that can lead to yellowing leaves—from watering habits and lighting conditions to potential diseases. More importantly, you’ll discover practical solutions to address each issue.
With the right approach, you can restore your orchid’s beauty and prevent future problems, ensuring your plant thrives for years to come. Let’s dive into the world of orchid care together, turning challenges into opportunities for growth.
Understanding Why Orchid Leaves Turn Yellow
Orchids, with their vibrant blooms and delicate structures, often face the issue of yellowing leaves. Pinpointing the cause is key to reviving your plant’s health. Let’s dive into the reasons behind this common problem.
Natural Aging Process in Orchids
Yes, even orchids can’t dodge the aging bullet. Older leaves turning yellow is part of the natural cycle, a sign they’re passing the torch to new growth.
If it’s just the bottom leaves and the rest of the plant looks healthy, it’s usually a sign of natural aging. Think of it as orchid retirement. No need to panic, it’s just the circle of life.
Environmental Stress Factors
Too much sun can give your orchid a sunburn, leading to yellow leaves. Similarly, not enough light makes them pale.
Orchids prefer a Goldilocks zone – not too much, not too little. Drafts and temperature swings can also stress them out. Ideally, orchids thrive in stable conditions where they don’t have to worry about fluctuating weather or the odd chilly breeze.
Irrigation Issues and Water Quality
Watering habits are pivotal. Overwatering can lead to root rot, manifesting as yellow leaves. Underwatering, conversely, leaves them dehydrated and equally yellow.
Tap water chemicals like chlorine and fluoride may well not sit well with your orchid either. Using rainwater or distilled water can be a game changer. It’s all about balance and giving your orchid just the right amount of hydration without going overboard.
Nutritional Deficiencies and Fertilization
Orchids aren’t high-maintenance, but they do have specific dietary needs. A lack of essential nutrients, such as nitrogen, can cause leaves to yellow. Over-fertilizing is equally problematic, leading to nutrient burn.
Opt for a balanced, orchid-specific fertilizer and follow the recommended schedule. Remember, it’s better to under-fertilize than overdo it. Think of fertilizer as vitamins for your orchid – a little boost goes a long way.
In each of these scenarios, understanding and adjusting your care routine can turn things around for your orchid. Insight into these common causes offers a roadmap to healthier, happier orchids that continue to brighten your home with their stunning blooms.
Common Types of Orchids and Yellowing Patterns
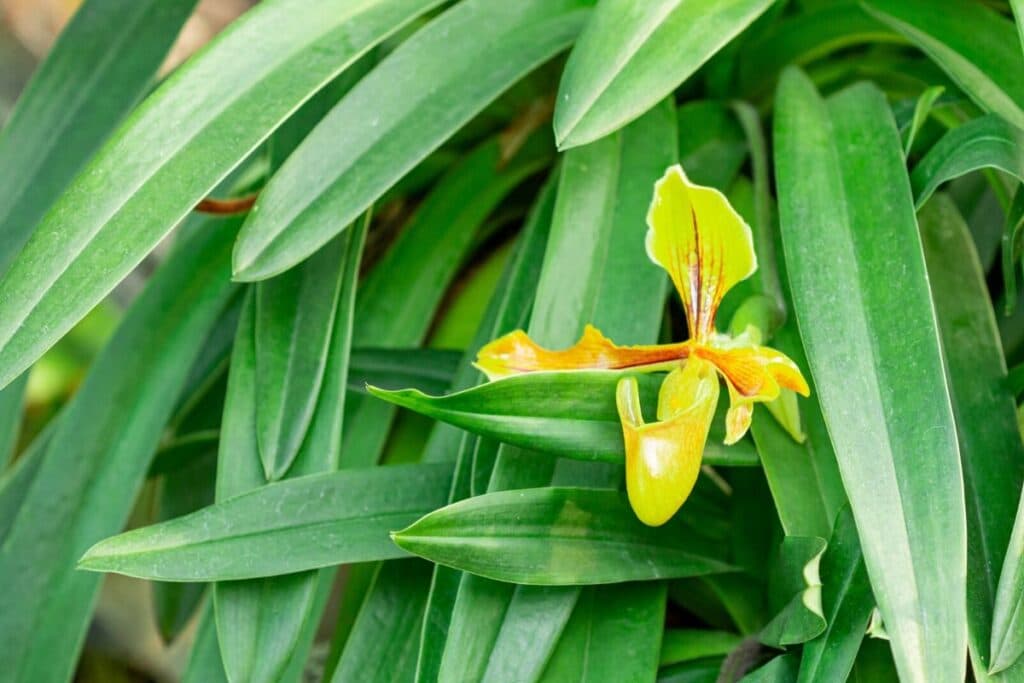
Understanding the common types of orchids and their specific yellowing patterns is crucial in diagnosing and addressing health issues in these plants. Each type of orchid has its own set of needs and potential problems, which can manifest in the color of their leaves.
Phalaenopsis Orchids (Moth Orchids)
Phalaenopsis Orchids, affectionately known as Moth Orchids, exhibit yellow leaves when they’re stressed. Overwatering is a common culprit, leading to root rot that makes leaves turn yellow. C
onversely, too little water causes leaves to become dehydrated, showing a similar yellowing effect. These orchids also react negatively to poor lighting conditions, either too much direct sunlight or not enough light can cause leaves to lose their vibrant green hue. Adjust light and water precisely to keep them happy.
Dendrobium Orchids
Dendrobium Orchids are a bit more resilient but not invincible. They typically display yellowing leaves due to temperature stress. If temperatures drop too low or soar too high, the leaves signal distress by turning yellow.
Nutritional deficiencies also play a role; a lack of essential nutrients like nitrogen can lead to yellowing. For these orchids, maintaining a stable environment and providing a balanced fertilizer can make a significant difference.
Cattleya Orchids
Cattleya Orchids, known for their large, beautiful blooms, show yellowing leaves often as an early sign of overwatering. Unlike Moth Orchids, Cattleyas prefer to dry out between waterings.
Too much moisture hampers their roots’ ability to breathe, leading to yellow leaves. They also require consistent, moderate lighting to maintain their leaf color. Proper watering and lighting schedules are key to preventing yellow leaves in Cattleya Orchids.
By paying attention to these signs and adjusting care routines accordingly, you can prevent yellow leaves and ensure your orchids remain healthy and vibrant.
Diagnosing Yellowing Leaves in Orchids
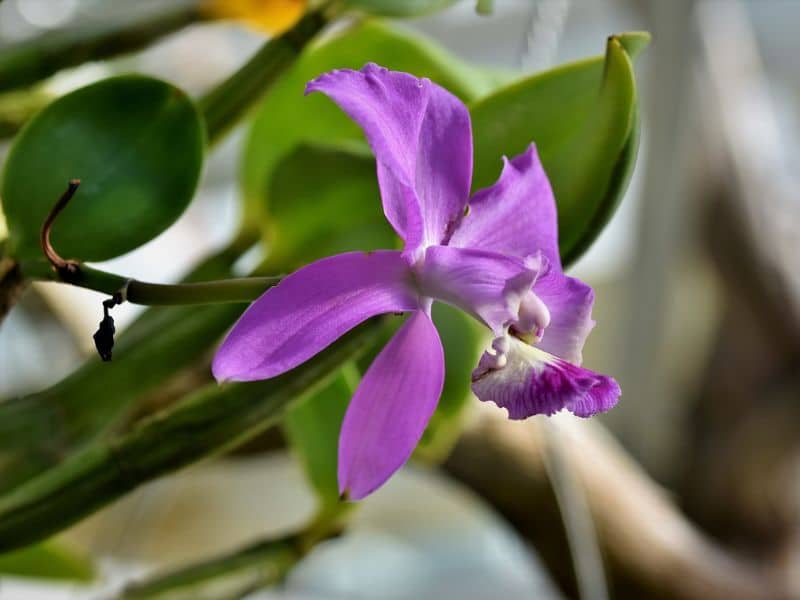
Examining the Pattern of Yellowing
First off, let’s talk about spotting the yellow flag – literally. When your orchids start showcasing yellow leaves, paying attention to the pattern of this color change is key. If the yellowing starts at the bottom and progresses upward, it’s often a natural aging process.
No need to sound the alarm here. However, if you notice the leaves turning yellow in a spotty manner or the newer leaves are changing color, that’s your cue to dive deeper. These signs may well indicate an issue beyond aging, such as stress from overexposure to sunlight or insufficient watering.
Identifying Pests and Diseases
Moving on, pests and diseases love crashing the orchid party uninvited. Yellow leaves can sometimes be the SOS signal your orchid sends out when it’s under attack.
Common culprits include spider mites, scale insects, and fungal infections. Spider mites create fine webs and suck the life out of your plant, while scale insects appear as small brown spots that are hard to the touch.
Fungal infections, conversely, display through yellow spots that gradually enlarge. Keeping an eye out for these uninvited guests helps you take action before they turn the party into a nightmare.
Assessing the Root Health
Last but certainly not least, let’s dig a little deeper – root deep, to be exact. The health of an orchid’s roots is often the unsung hero of the plant’s overall well-being. Healthy roots are firm and green. If you find them soggy or brown, that’s a clear indication of overwatering or poor drainage, which often leads to yellowing leaves.
Conversely, roots that look shriveled and white may well be crying out for more water. Adjusting your watering routine can often turn things around, bringing your orchid back from the brink.
In diagnosing yellowing leaves in orchids, small clues can lead to big saves. By understanding the pattern, keeping an eye out for pests and disease, and giving the roots the attention they deserve, you can often reverse the yellow peril and keep your orchid thriving. Remember, a little observation goes a long way in keeping your green friends happy and healthy.
Preventative Measures and Solutions
After uncovering the reasons behind the yellowing leaves of orchids, such as environmental stress and nutritional deficiencies, the follow-up with solutions is crucial. Armed with an understanding of these issues, you’re now in a great position to turn things around for your orchids. Let’s dive into the preventative measures and solutions that can keep your orchids thriving.
Optimizing Light Exposure
Orchids thrive in just the right amount of light; too much or too little can cause those yellow leaves you’re trying to avoid. Phalaenopsis orchids, for example, prefer bright, indirect sunlight. If your orchid’s leaves are turning yellow, it may well be crying out for a change in scenery.
Move it away from direct sunlight or too dark of a spot. Use sheer curtains to filter intense sunlight, ensuring your orchid gets the light it loves without getting scorched. Remember, the goal is to mimic the natural light environment of where your orchid would grow in the wild—think bright but shaded.
Proper Watering Techniques
Overwatering is a common misstep orchid owners make. Orchids don’t like wet feet! Ensure your orchid’s potting medium is slightly moist but never soggy.
Water your plant once the top inch of the orchid’s soil feels dry to the touch. Consider the type of orchid you have, as some, like Cattleya, require drier conditions between watering sessions.
Always empty the saucer under your pot to avoid standing water. It’s also wise to use lukewarm water, as cold water can shock the roots, leading to yellow leaves. Remember, watering is all about balance; your orchid will thank you for not going overboard.
Selecting the Right Fertilizer
Nutritional deficiencies can cause yellow leaves, but the right fertilizer can set things right. However, more fertilizer isn’t always the answer. In fact, over-fertilizing can harm your orchid more than help it.
Opt for a fertilizer formulated specifically for orchids. Follow the instructions to the letter, usually applying it every other week or according to the product’s guidelines.
Also, flush out excess salts from the potting medium by watering your orchid with plain water every few weeks. This routine keeps the roots healthy and prevents those yellow leaves from making an unwanted comeback.
Following these steps attentively can dramatically reduce the risk of yellowing leaves on your orchids. Each measure addresses a specific need of your orchid, aligning closely with its natural growth conditions. By optimizing light exposure, mastering proper watering techniques, and selecting the right fertilizer, you’re setting your orchid up for a healthy, vibrant life.
Treating Affected Orchid Leaves
When to Trim Yellow Leaves
Recognizing the right time to trim yellow leaves from your orchid is crucial. If a leaf is entirely yellow or has significant brown spots, it’s probably time to remove it. This stage indicates the leaf is no longer beneficial to the plant and could be drawing away nutrients from healthier parts.
However, wait until the leaf is easy to remove, to avoid harming the plant. A gentle tug should be enough to detach it without resistance. Pruning too early can cause unnecessary stress to your orchid.
Caring for the Orchid After Pruning
After pruning yellow or damaged leaves, taking care of the remaining plant becomes paramount. First, sterilize your cutting tools with rubbing alcohol or a flame to prevent spreading diseases.
Then, focus on providing optimal conditions for recovery. This includes ensuring your orchid gets adequate indirect sunlight, keeping the humidity levels high, and watering when the top inch of the potting medium is dry. Avoid wetting the leaves directly to minimize the risk of fungal infections.
Additionally, consider applying a balanced, diluted fertilizer to support new growth and help your orchid bounce back stronger.
Frequently Asked Questions
What causes orchid leaves to turn yellow?
Orchid leaves can turn yellow due to aging, environmental stress, nutritional deficiencies, improper light exposure, and over- or under-watering. Specific types such as Phalaenopsis, Dendrobium, and Cattleya may have additional specific needs or sensitivities.
How can you diagnose the reason behind yellowing orchid leaves?
To diagnose yellowing orchid leaves, examine the pattern of yellowing, check for pest infestations and diseases, and assess the health of the roots. These factors can help identify the underlying cause.
What are some preventative measures for preventing yellow leaves on orchids?
Preventative measures include optimizing light exposure, maintaining proper watering schedules, and using the right fertilizer. Additionally, knowing the specific needs of your orchid type (e.g., Phalaenopsis, Dendrobium, Cattleya) helps tailor care.
When should yellow orchid leaves be trimmed?
Yellow orchid leaves should be trimmed when they are fully yellow or have significant brown spots. It’s crucial to wait until the leaf is easy to remove to avoid damaging the plant.
How do you care for an orchid after removing yellow leaves?
After removing yellow leaves, sterilize cutting tools to prevent spreading diseases. Provide optimal recovery conditions by ensuring adequate light, water, and using a balanced fertilizer to support new growth.
Up next:
- Swiss Cheese Plant Yellow Leaves: Causes and Cures
- Monstera Leaves Turning Yellow? How to Diagnose and Treat
Image by gamjai/depositphotos

