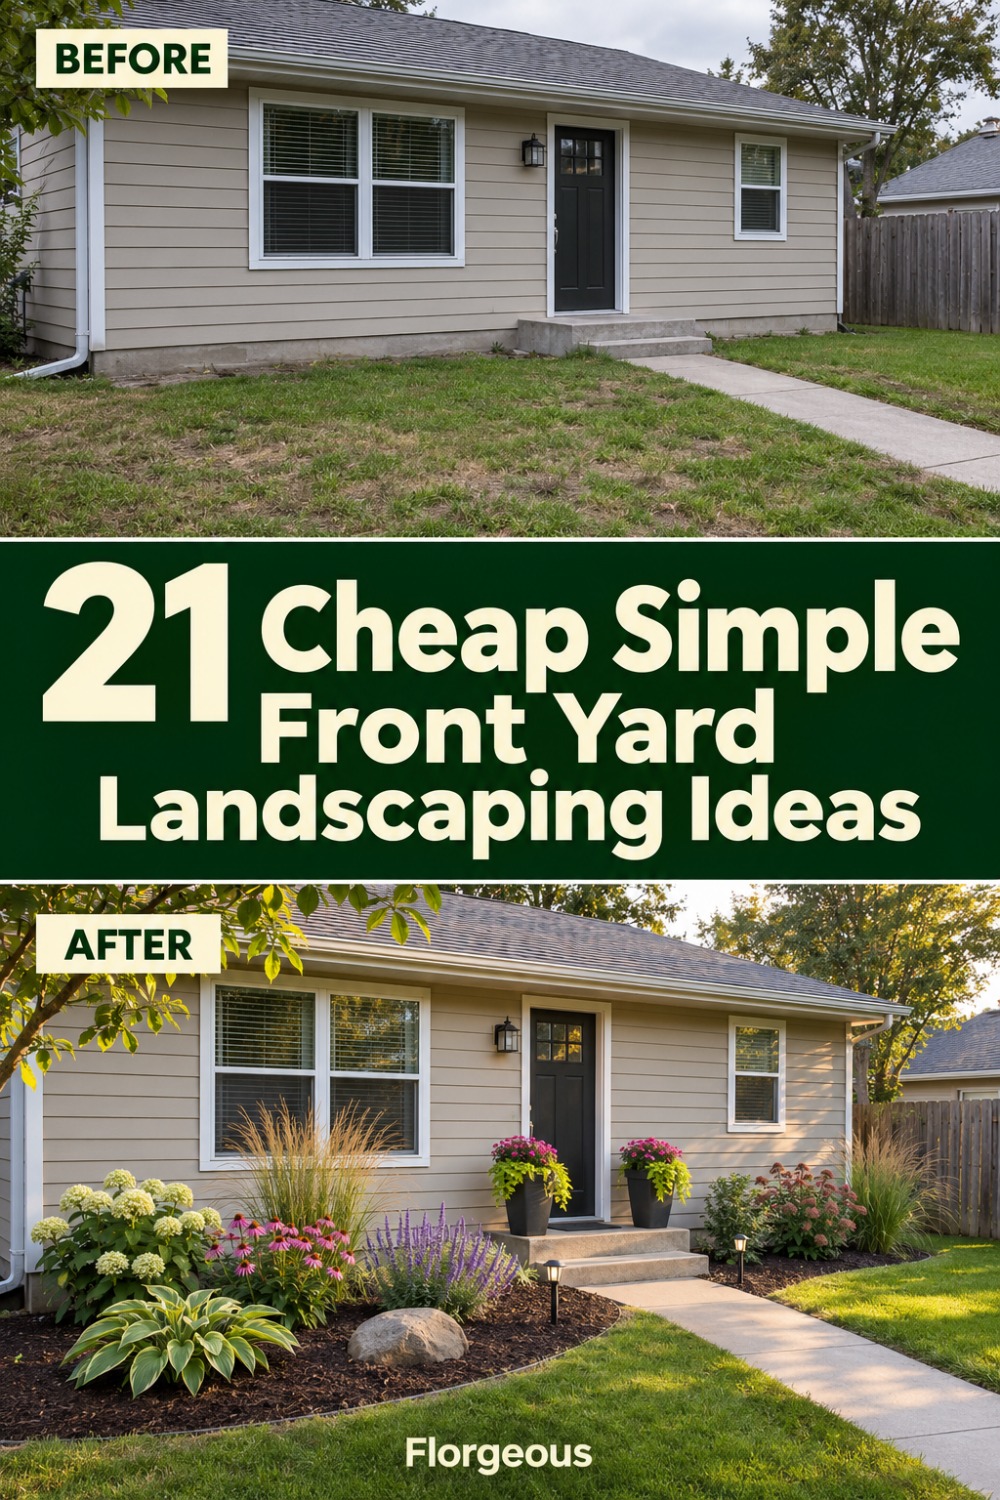
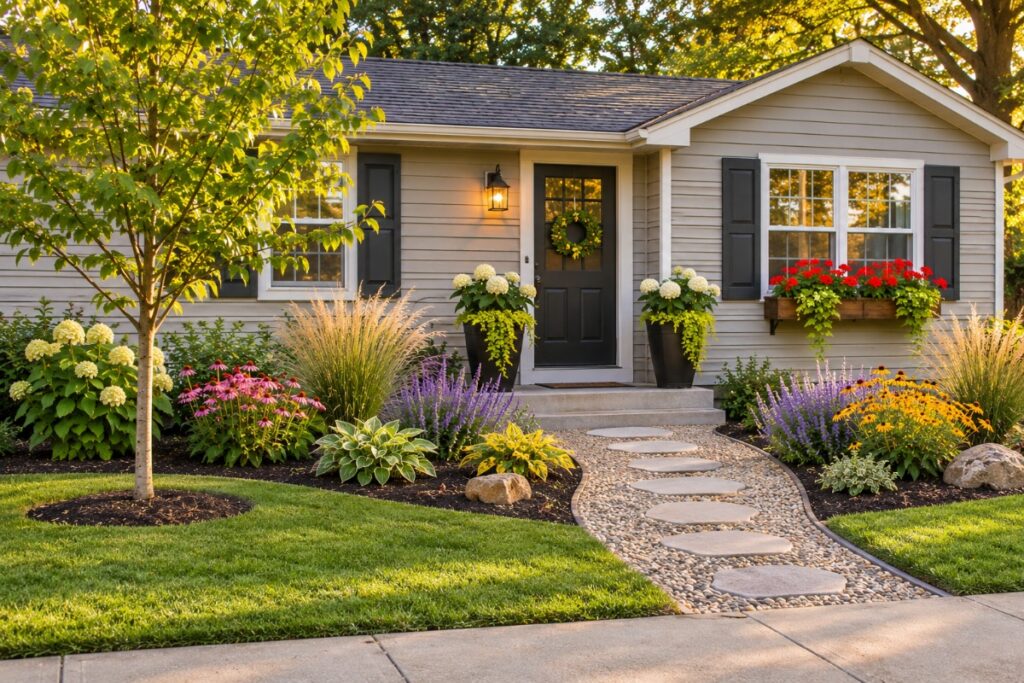
You pull into the driveway, glance at the front yard, and see what everyone else sees: tired grass, a few shrubs from the previous owner, and bare soil where something used to grow.
Fixing it feels expensive. It doesn’t have to be.
The secret to a good-looking front yard on a budget isn’t buying more plants. It’s making a few deliberate choices: clean edges, one clear focal point, and plants repeated in groups so the whole space looks planned.
These 21 cheap simple front yard landscaping ideas are sorted roughly from free to small-spend projects. Most fit into a weekend, and many cost nothing but time.
Cheap Front Yard Ideas at a Glance
| Idea | Cost | Time | Best for |
|---|---|---|---|
| Clean up and edge beds | Free | Half a day | Every yard, start here |
| Fresh mulch layer | $ | Half a day | Instant tidy look |
| Cardboard sheet mulching | Free to $ | A weekend | Replacing patchy lawn |
| Divided perennials | Free | An hour per clump | Filling beds fast |
| Annuals from seed | $ | Spring sowing | Big summer color |
| Gravel or stepping stone path | $$ | A weekend | Worn shortcuts across grass |
| Solar path lights | $ | An hour | Evening curb appeal |
| Window boxes | $ to $$ | An afternoon | Small yards and porches |
1. Start With a Free Cleanup and Crisp Bed Edges
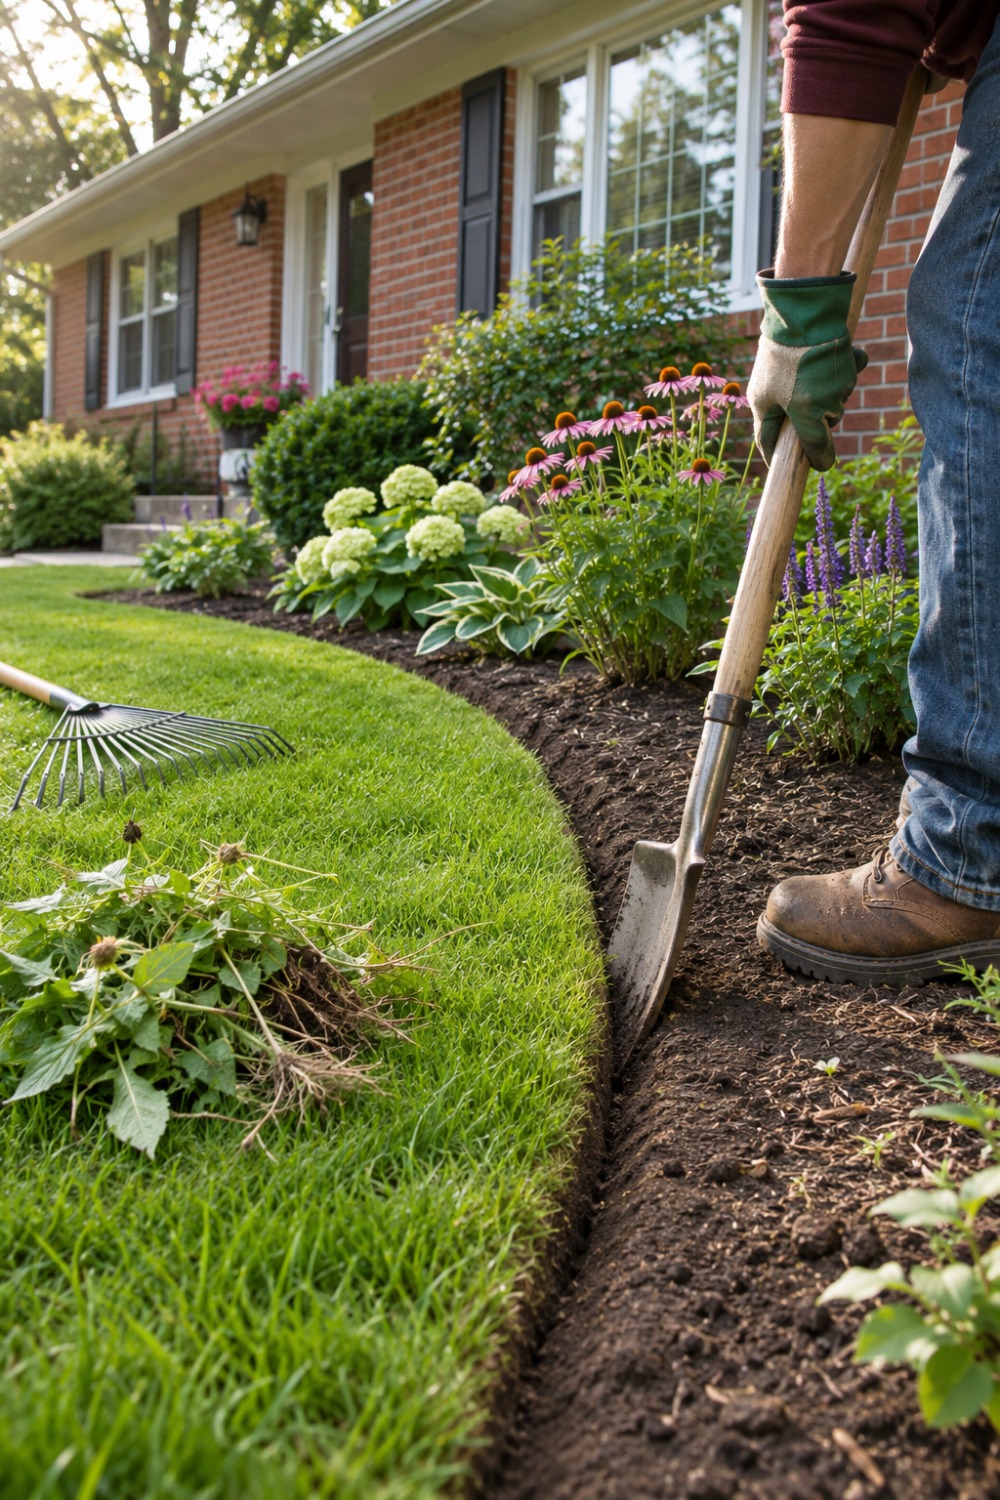
Before you spend a cent, pull weeds, rake out old leaves and cut back anything dead or overgrown.
Then use a flat spade to cut a clean edge between lawn and beds. A sharp, slightly curved line makes even a sparse bed look intentional.
This is the cheapest curb appeal upgrade there is, and it shows you what you actually have to work with.
How to do it:
- Cut straight down about 4 inches along the bed line.
- Angle the spade back toward the bed to make a small trench.
- Re-cut the edge each spring so grass doesn’t creep back in.
Pro tip: lay a garden hose on the lawn to test curves before you cut. Gentle sweeps look better than wiggly ones.
2. Sketch a Simple Plan Before You Buy a Single Plant
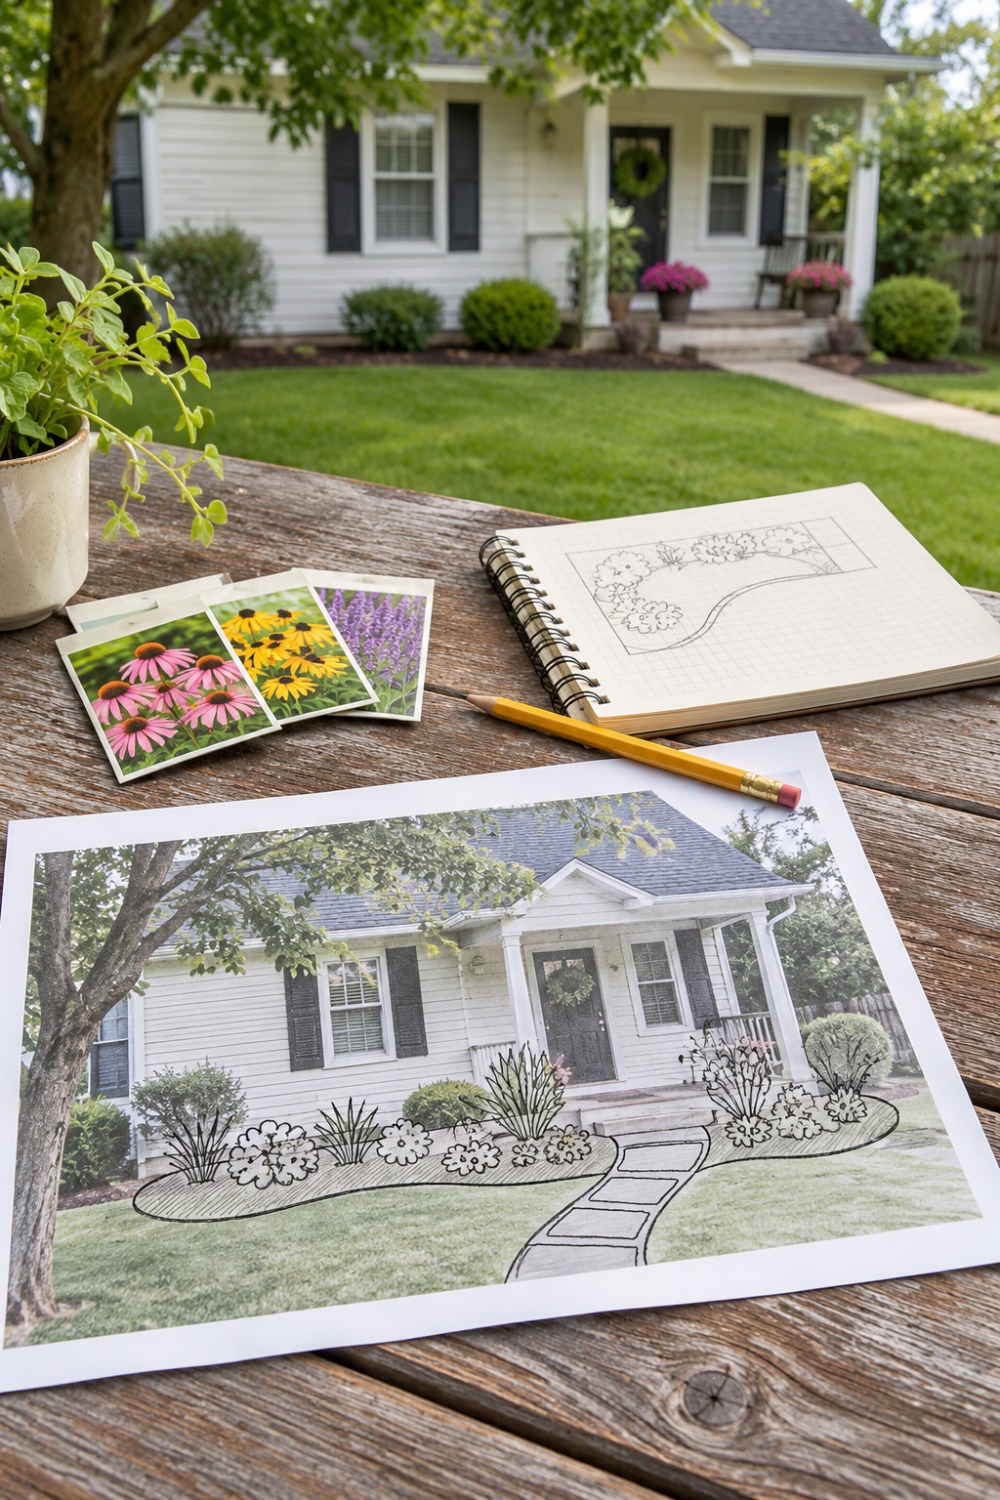
Most overspending happens at the garden center, when you buy one of everything that looks pretty.
Take a photo of your house from the street, print it, and sketch over it. Mark where the sun hits, where water pools and where people actually walk.
Choose one focal point, usually the front door, and plan everything else to lead the eye toward it.
How to do it:
- Note sun hours for each bed (full sun means six or more).
- Pick a palette of two or three flower colors.
- List plants by height: tall at the back, low at the front.
3. Spread a Fresh Layer of Mulch for an Instant Refresh
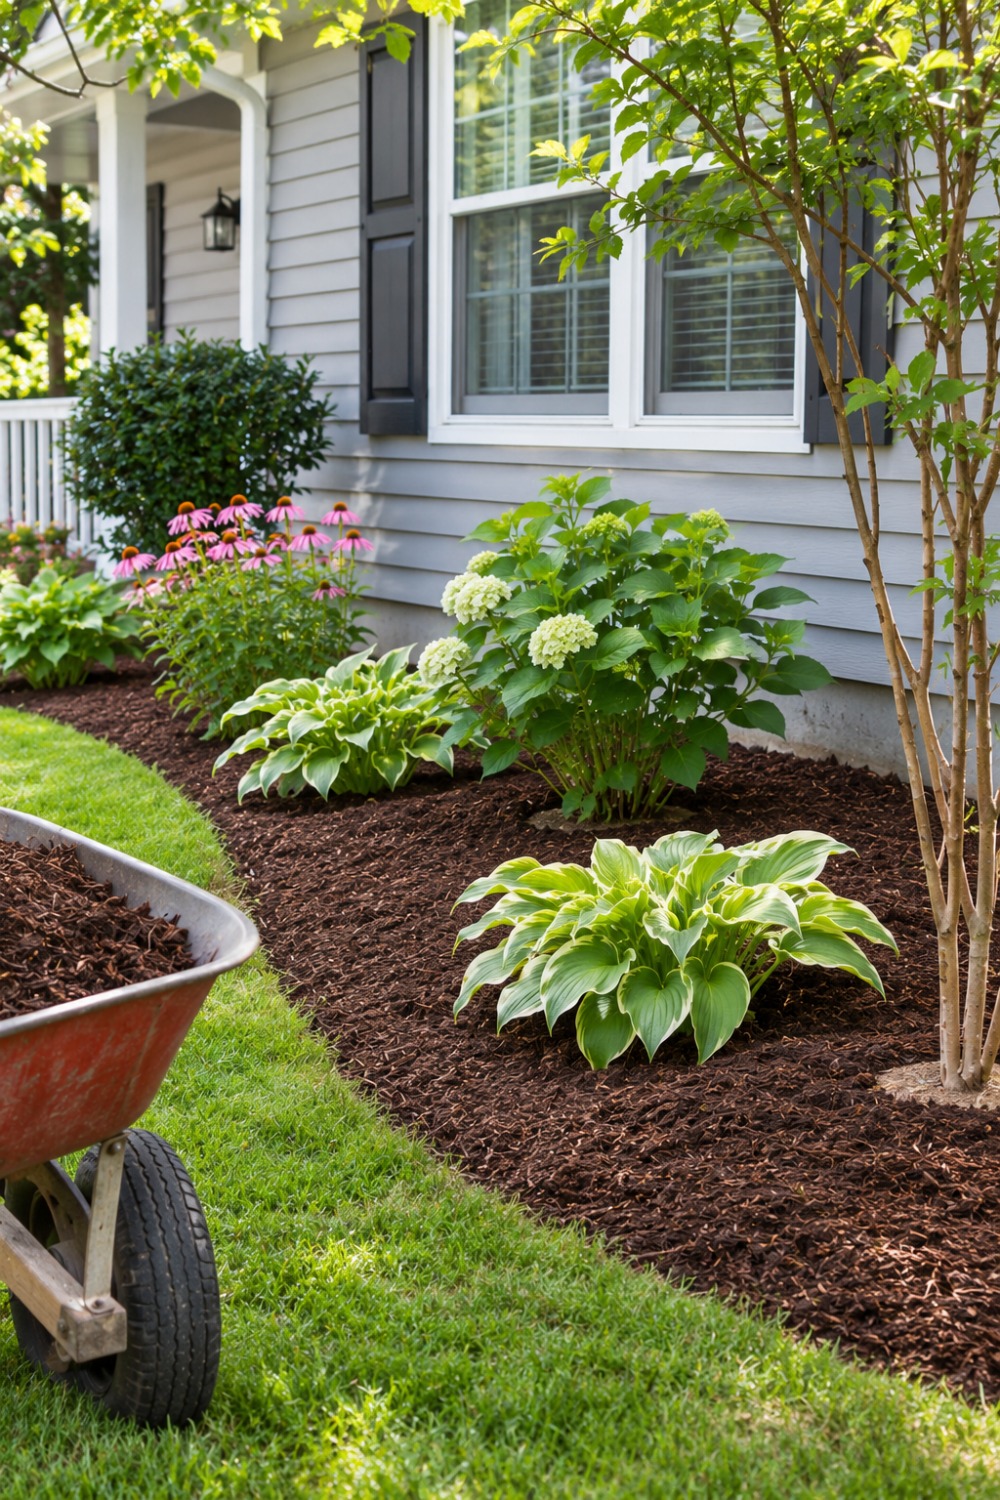
Nothing changes a front yard faster than a fresh layer of dark mulch around existing plants.
It hides bare soil, holds moisture and slows weeds, which saves you water and weekend hours later.
Depth matters. Iowa State University Extension suggests about 2 to 3 inches of wood chips or shredded bark on heavy soils and 3 to 4 inches on well-drained sites, kept at least 6 inches away from tree trunks.
How to do it:
- Weed the bed first.
- Spread mulch evenly, then rake it level.
- Pull it back from stems and trunks so it never touches the bark.
Common mistake: piling mulch up around tree trunks in a cone. It invites rot and rodents.
4. Turn Patchy Lawn Into Garden Beds With Cardboard
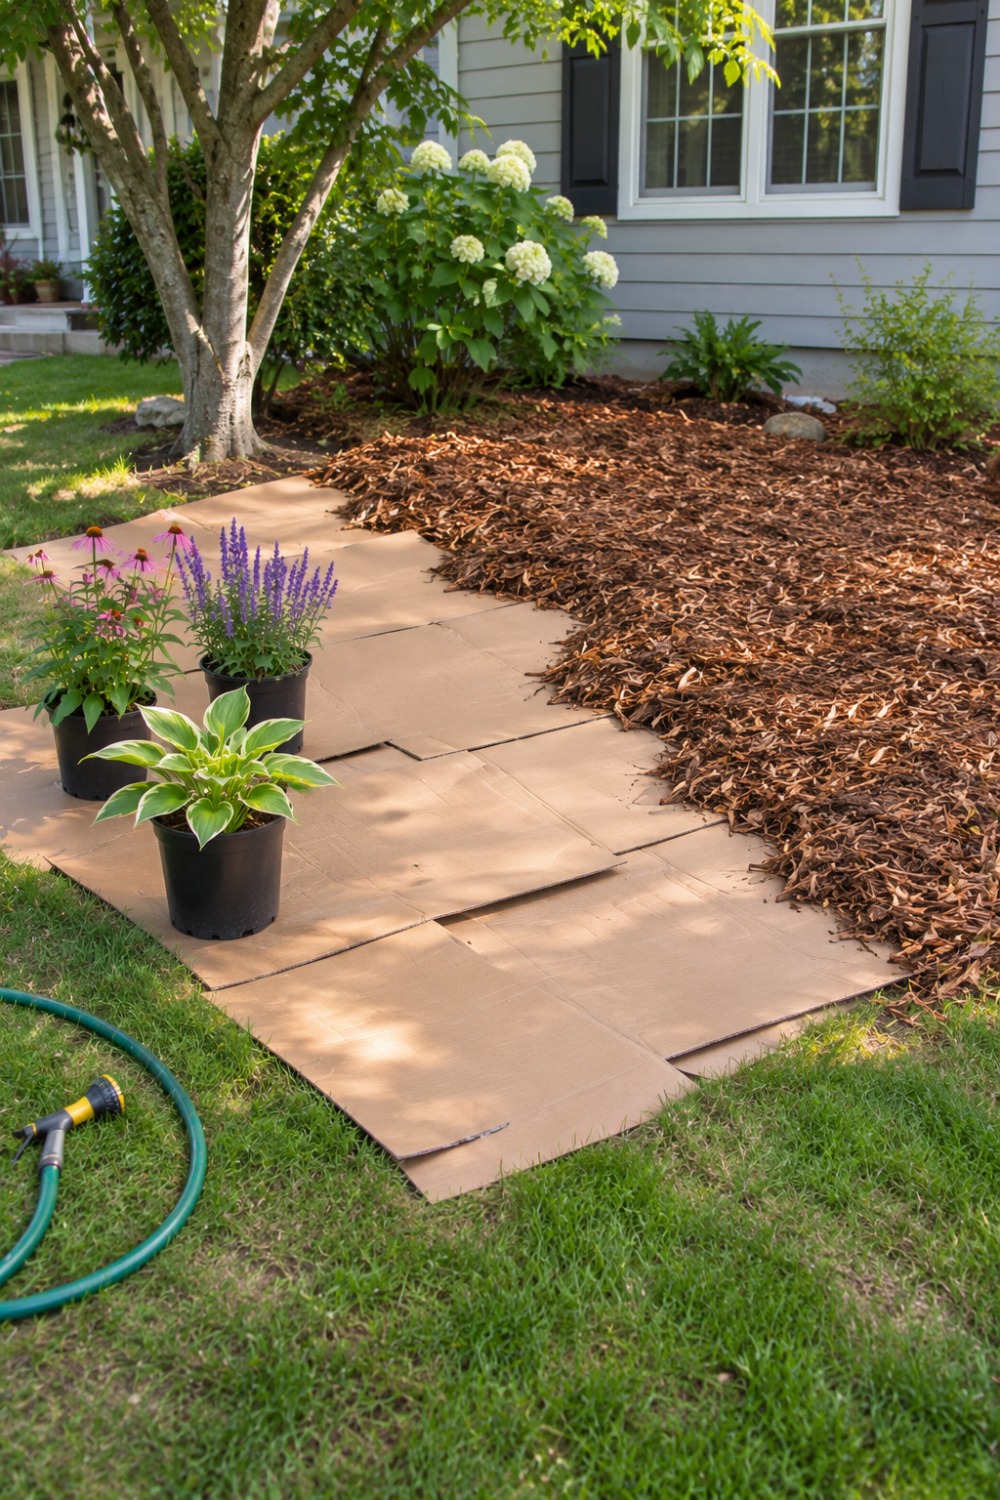
If part of your lawn is more weeds than grass, don’t rent a sod cutter. Smother it instead.
Lay plain cardboard over the grass, soak it, and cover it with mulch or compost. Over a season the grass underneath breaks down and the soil improves.
Iowa State’s mulching guide recommends one or two overlapping layers of cardboard, with tape and staples removed, so water and air can still reach the soil.
How to do it:
- Mow the area as short as possible.
- Overlap cardboard edges by several inches and wet it thoroughly.
- Top with mulch, then plant through slits in the cardboard.
5. Ask Local Tree Crews for Free Wood Chips
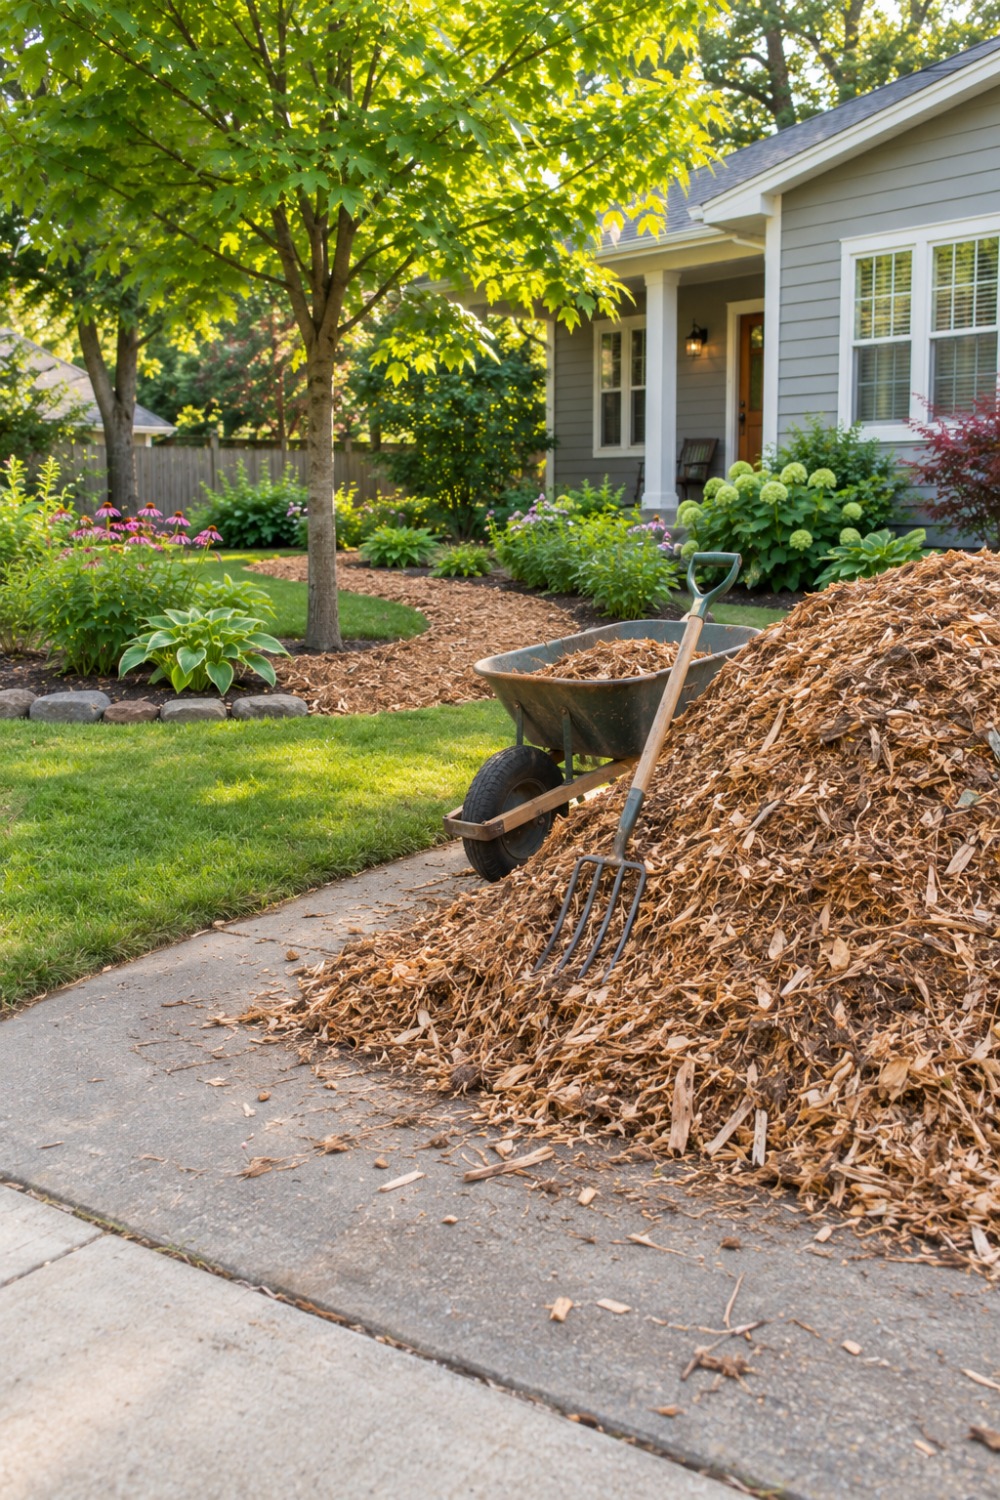
Tree trimming companies often have to pay to dump their chips, so many will happily drop a load in your driveway for free.
One load usually covers far more ground than a carload of bagged mulch.
The chips are rougher and less uniform than store-bought mulch, which is perfect for paths, the back of beds and areas under trees.
How to do it:
- Call two or three local tree services and ask to be added to their drop list.
- Choose a drop spot you don’t need for a few days.
- Let fresh chips age a few weeks before using them around delicate plants.
Good to know: loads can be large, so have a tarp and a wheelbarrow ready, and check whether your HOA allows piles in the driveway.
6. Plant in Odd-Numbered Groups for a Designer Look
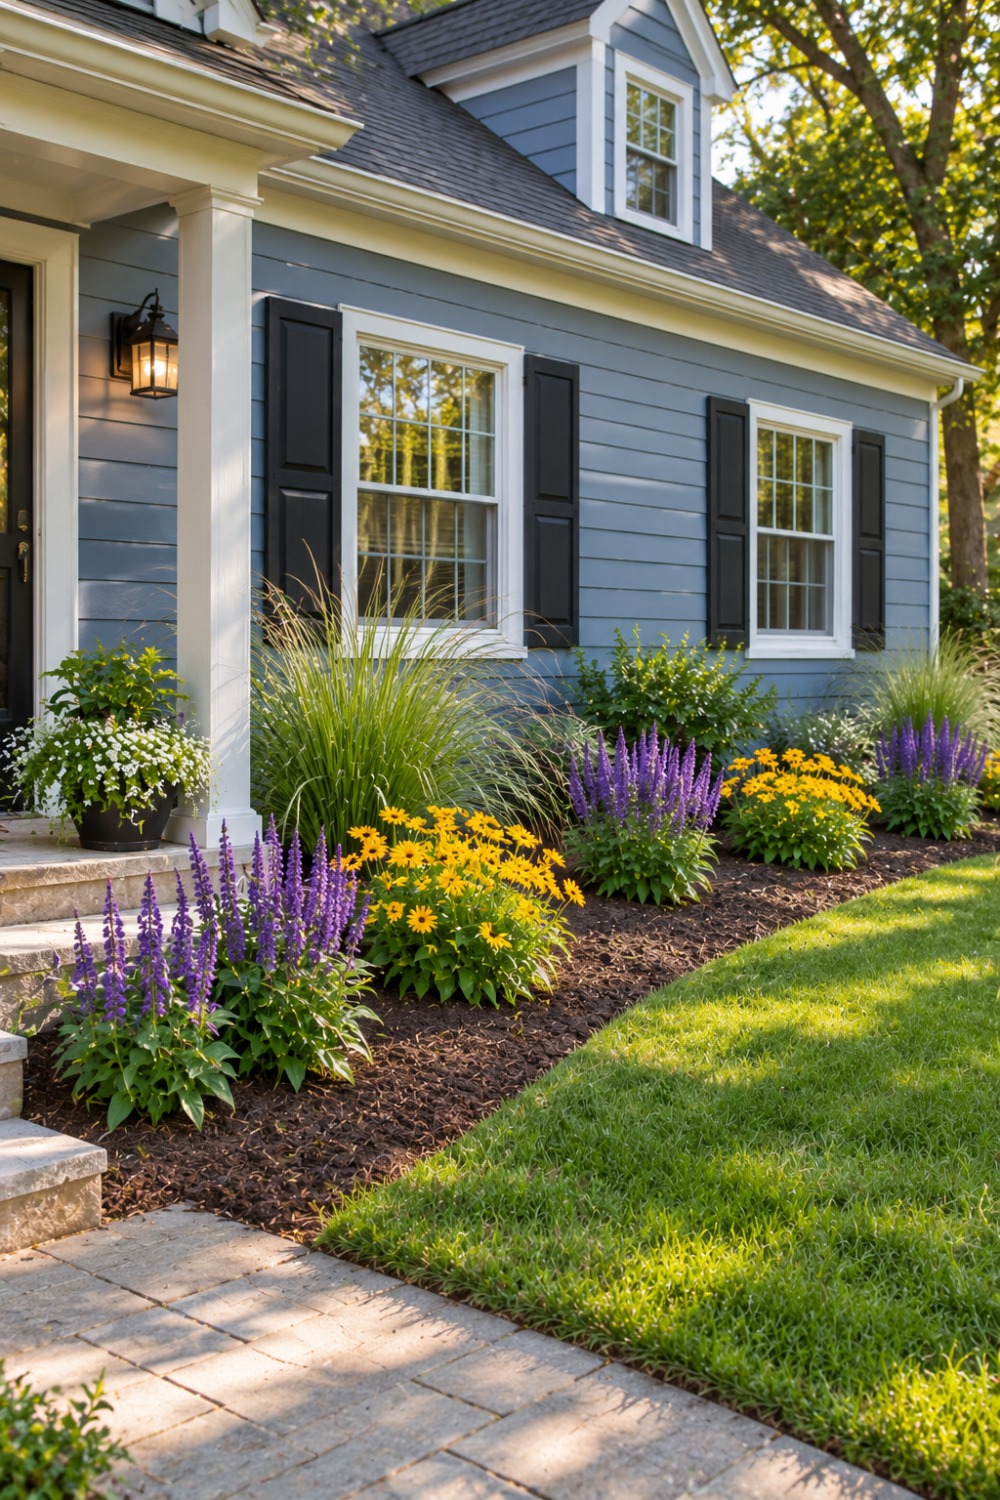
A front yard with one of everything looks busy. The same plant repeated in groups of three or five looks designed.
Repetition is also cheaper, because you can buy flats or multipacks instead of individual specimens.
Use your groups to create a rhythm along the front of the house: a cluster near each corner and one by the door.
How to do it:
- Pick two or three reliable plants for your sun and zone.
- Plant each in a loose triangle of three or a zigzag of five.
- Repeat the same groups on both sides of the entry.
7. Divide Tough Perennials for Free Plants
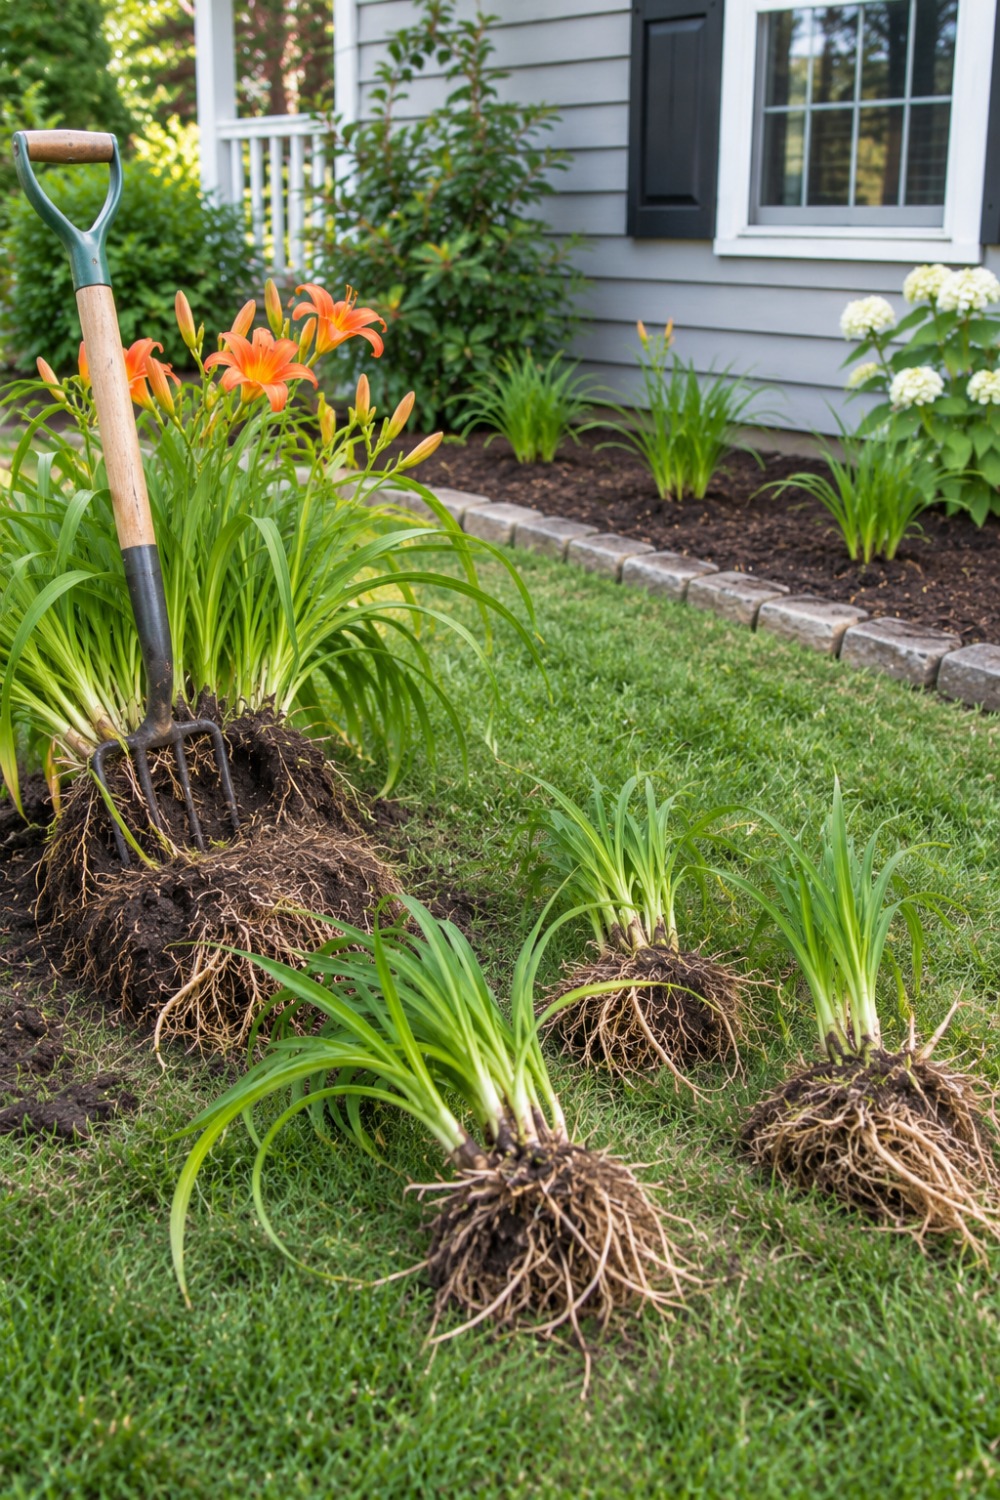
Daylilies, hostas, black-eyed Susans and ornamental grasses spread into big clumps that can be split every few years.
One clump from a neighbor or your own backyard can become four or five new plants for your front beds.
Spring and early fall are the best times, when roots establish quickly in cool, moist soil.
How to do it:
- Dig up the whole clump with a spade.
- Slice it into pieces, each with healthy roots and shoots.
- Replant at the same depth and water well for the first few weeks.
Pro tip: join a local plant swap or neighborhood group. Gardeners dividing their own plants are usually glad to share.
8. Grow Annuals From Seed for Big Summer Color
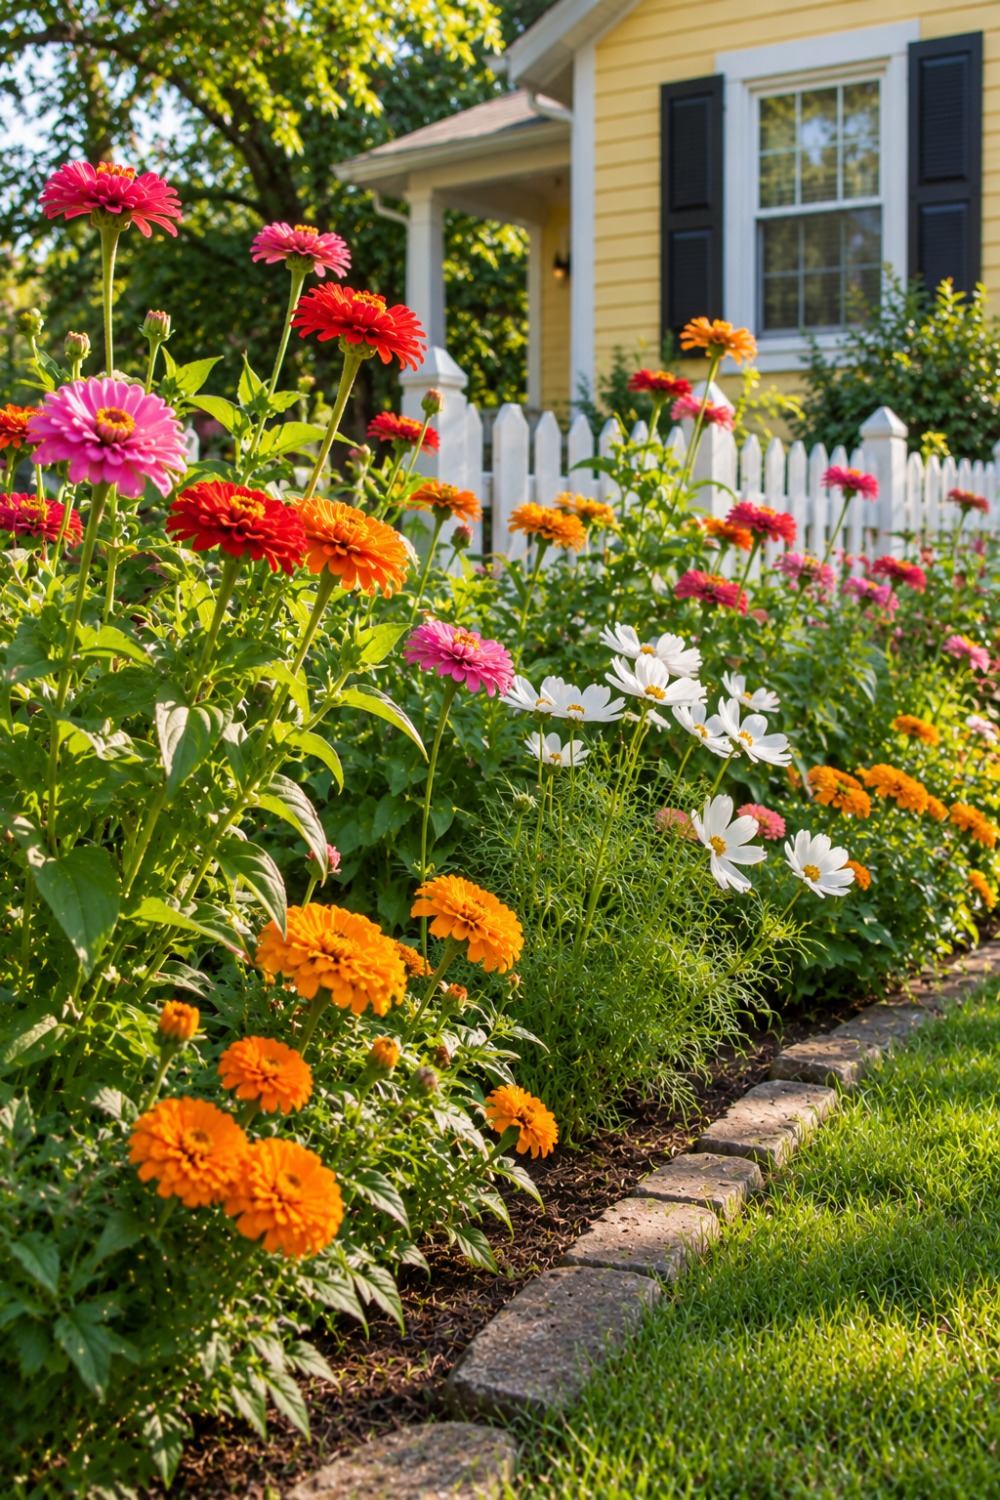
A packet of zinnias, cosmos or marigold seeds costs less than a single potted plant and can fill a whole border.
These annuals grow fast in full sun and keep flowering right up to the first frost.
Sow them directly where you want them once the danger of frost has passed.
How to do it:
- Loosen the top few inches of soil and rake it smooth.
- Sow seeds at the depth on the packet and keep them moist.
- Thin seedlings so each plant has room to bush out.
9. Frame the Front Door With a Matching Pair of Containers
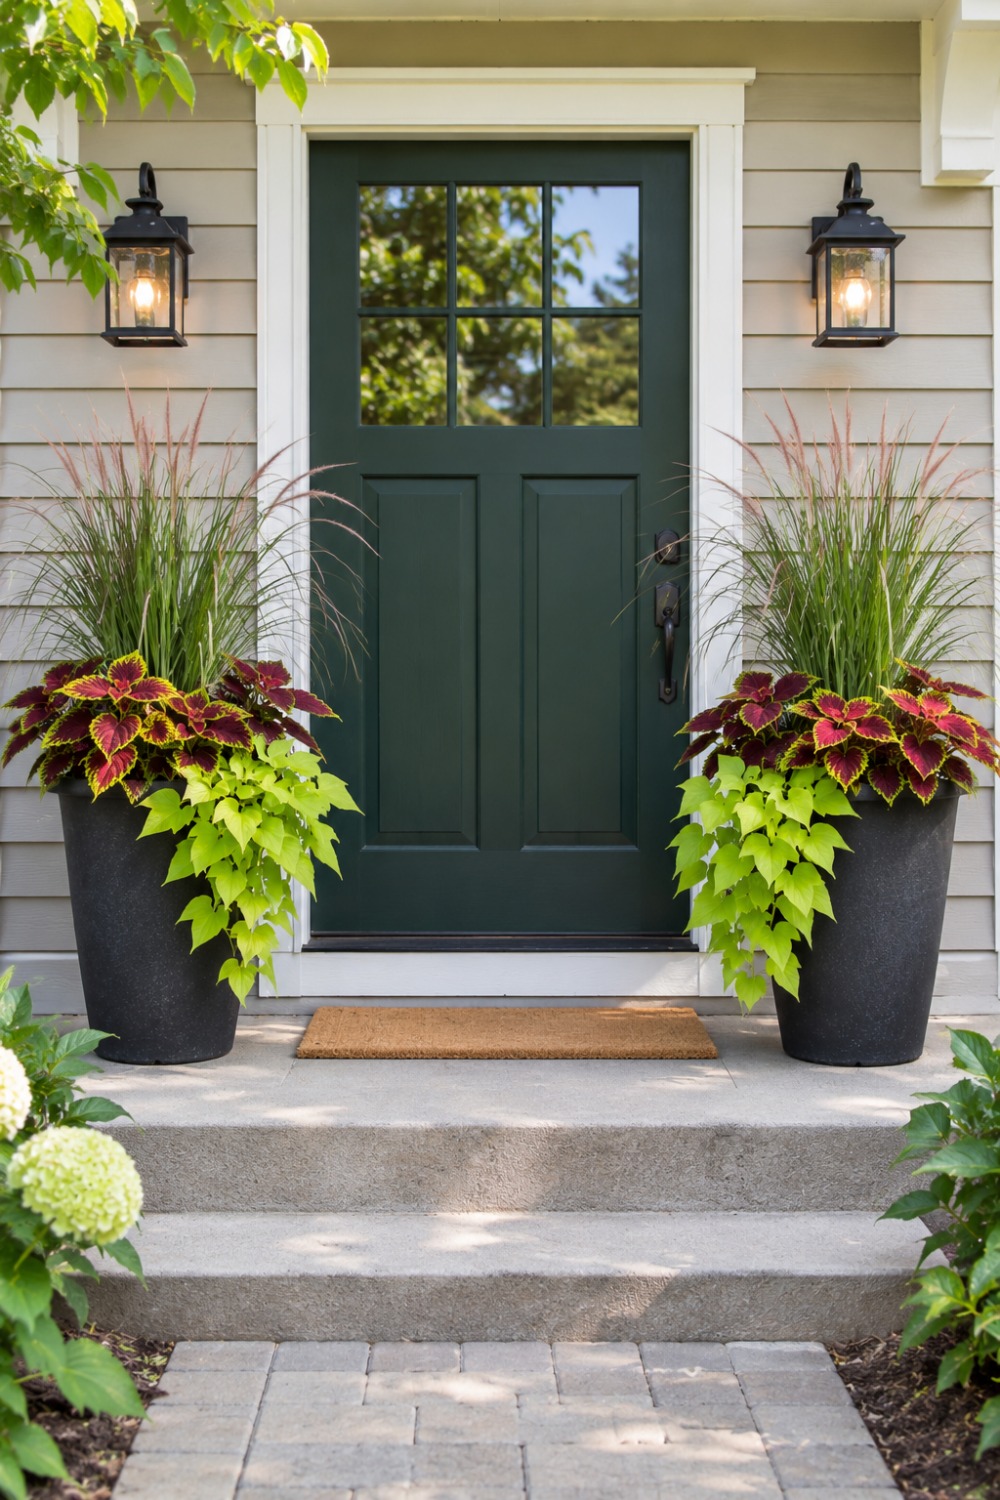
Two matching pots on either side of the door instantly make the entry look finished.
Symmetry reads as tidy and intentional, even when the rest of the yard is still a work in progress.
Fill them with something tall in the center, something bushy around it and something trailing over the edge. For hot, sunny steps, choose plants that handle full sun and heat in pots.
How to do it:
- Pick pots at least 16 inches wide so they don’t dry out daily.
- Use one plant combination for both pots.
- Swap in seasonal plants or evergreen branches as the year goes on.
10. Layer Foundation Shrubs in Three Heights
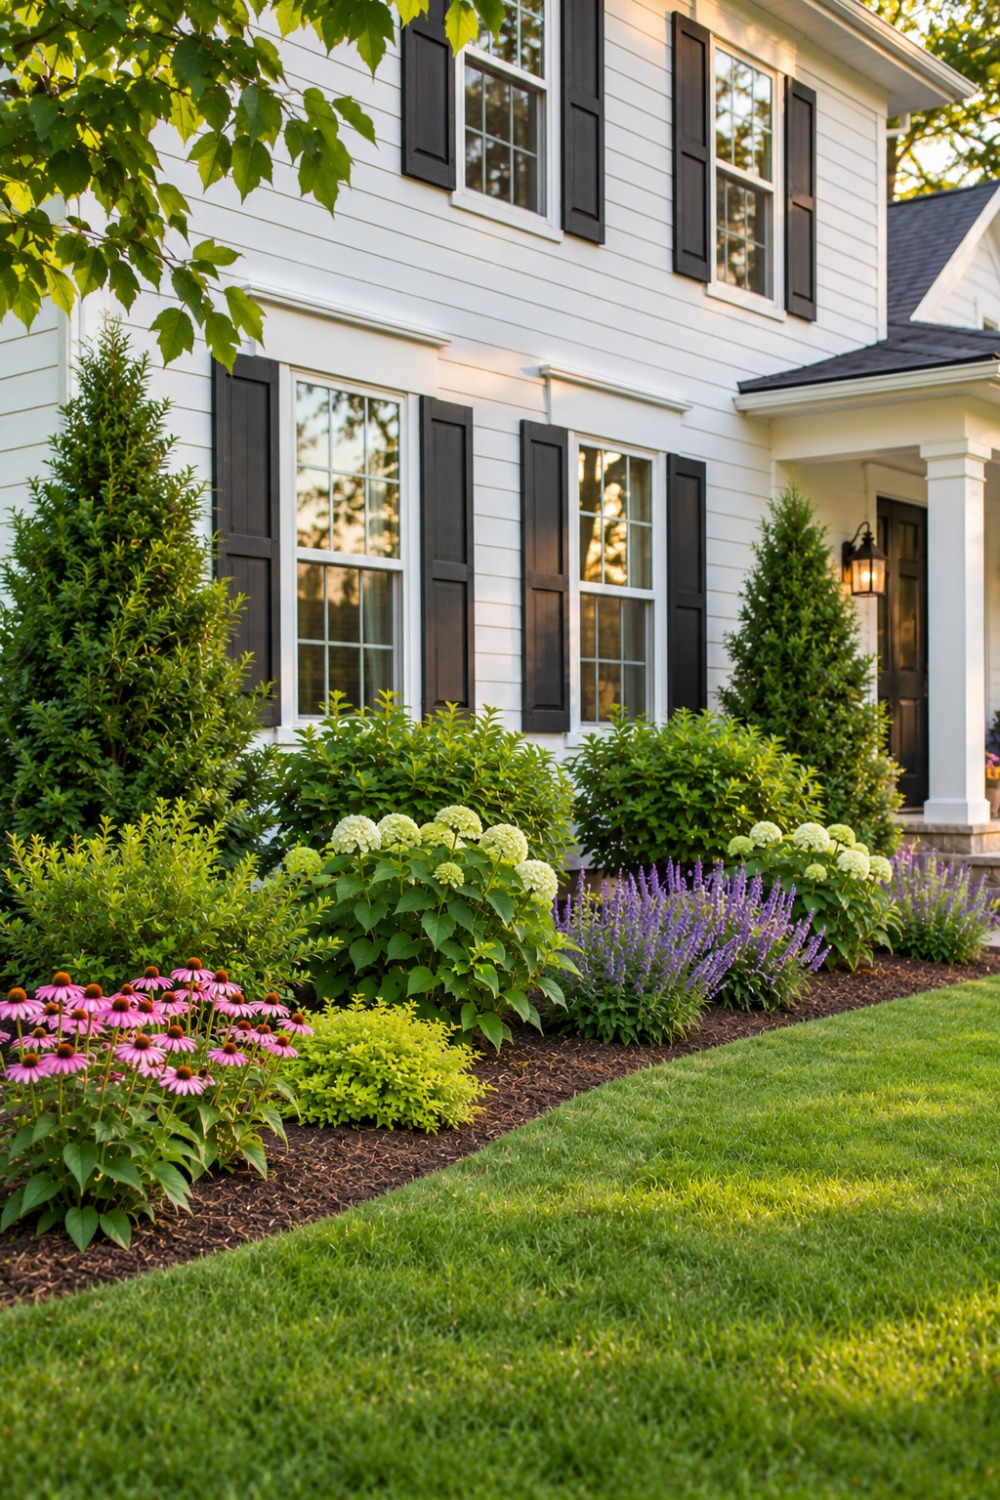
A single row of identical shrubs pressed against the house looks dated.
Instead, create three layers: a few taller shrubs at the corners, mid-height shrubs below windows and low plants or edging at the front of the bed.
If your old boxwoods struggle with pests or disease, our guide to boxwood alternatives has tough, budget-friendly swaps.
How to do it:
- Keep tall shrubs below the windowsills when mature.
- Leave room for each shrub’s full width, not its pot size.
- Fill the gaps with mulch while young shrubs grow in.
Common mistake: planting shrubs too close to the house. Allow at least half their mature width from the wall.
11. Replace Thirsty Lawn Strips With Low Ground Covers
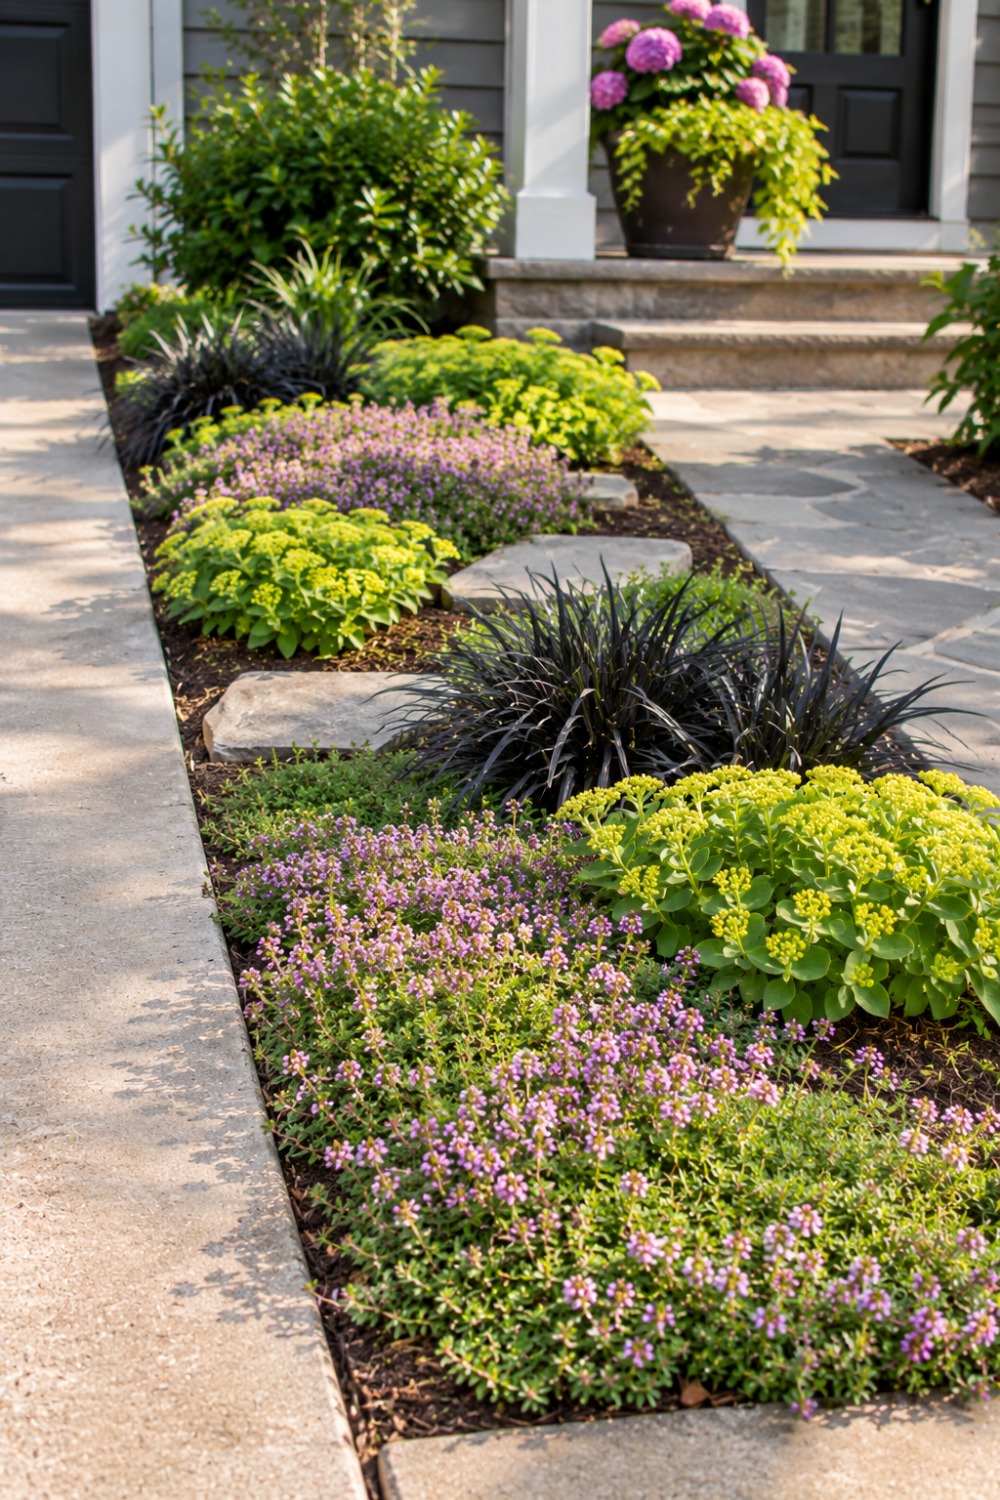
Narrow strips of lawn along walks and driveways are fiddly to mow and often turn brown in summer.
Fill them instead with low, spreading plants such as creeping thyme, sedum or black mondo grass. Our list of ground cover plants that crowd out weeds covers options for sun and shade.
Once established, most need far less water and no weekly mowing.
How to do it:
- Remove the grass or smother it with cardboard.
- Plant ground covers about a foot apart in staggered rows.
- Mulch between them until they knit together.
12. Lay a Budget Gravel or Stepping Stone Path
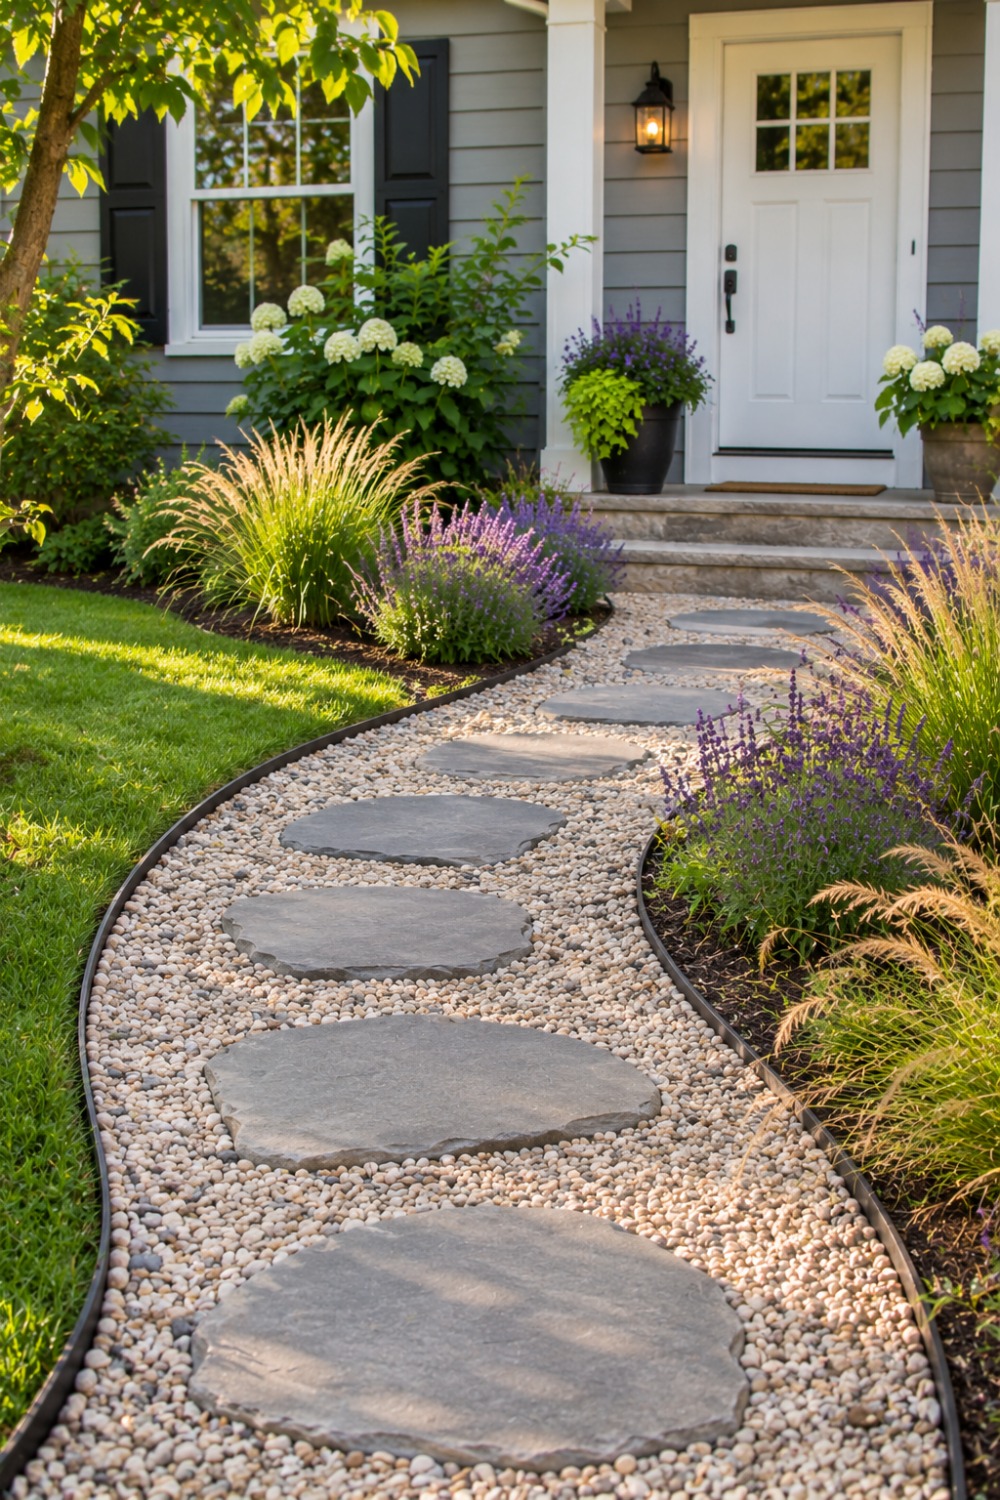
If people already cut across your lawn to the door, give them a proper path.
Pea gravel or crushed stone between steel or timber edging is one of the cheapest ways to add a walkway, and stepping stones set into gravel look even more finished.
A path also turns a plain front lawn into a designed space with clear lines.
How to do it:
- Mark the route and dig out about 3 to 4 inches of soil.
- Lay landscape fabric and install edging along both sides.
- Fill with gravel, rake level and tamp it firm.
Good to know: in many areas you should call 811 a few days before digging so buried utility lines can be marked.
13. Edge Beds With Free Fieldstone or Reclaimed Bricks
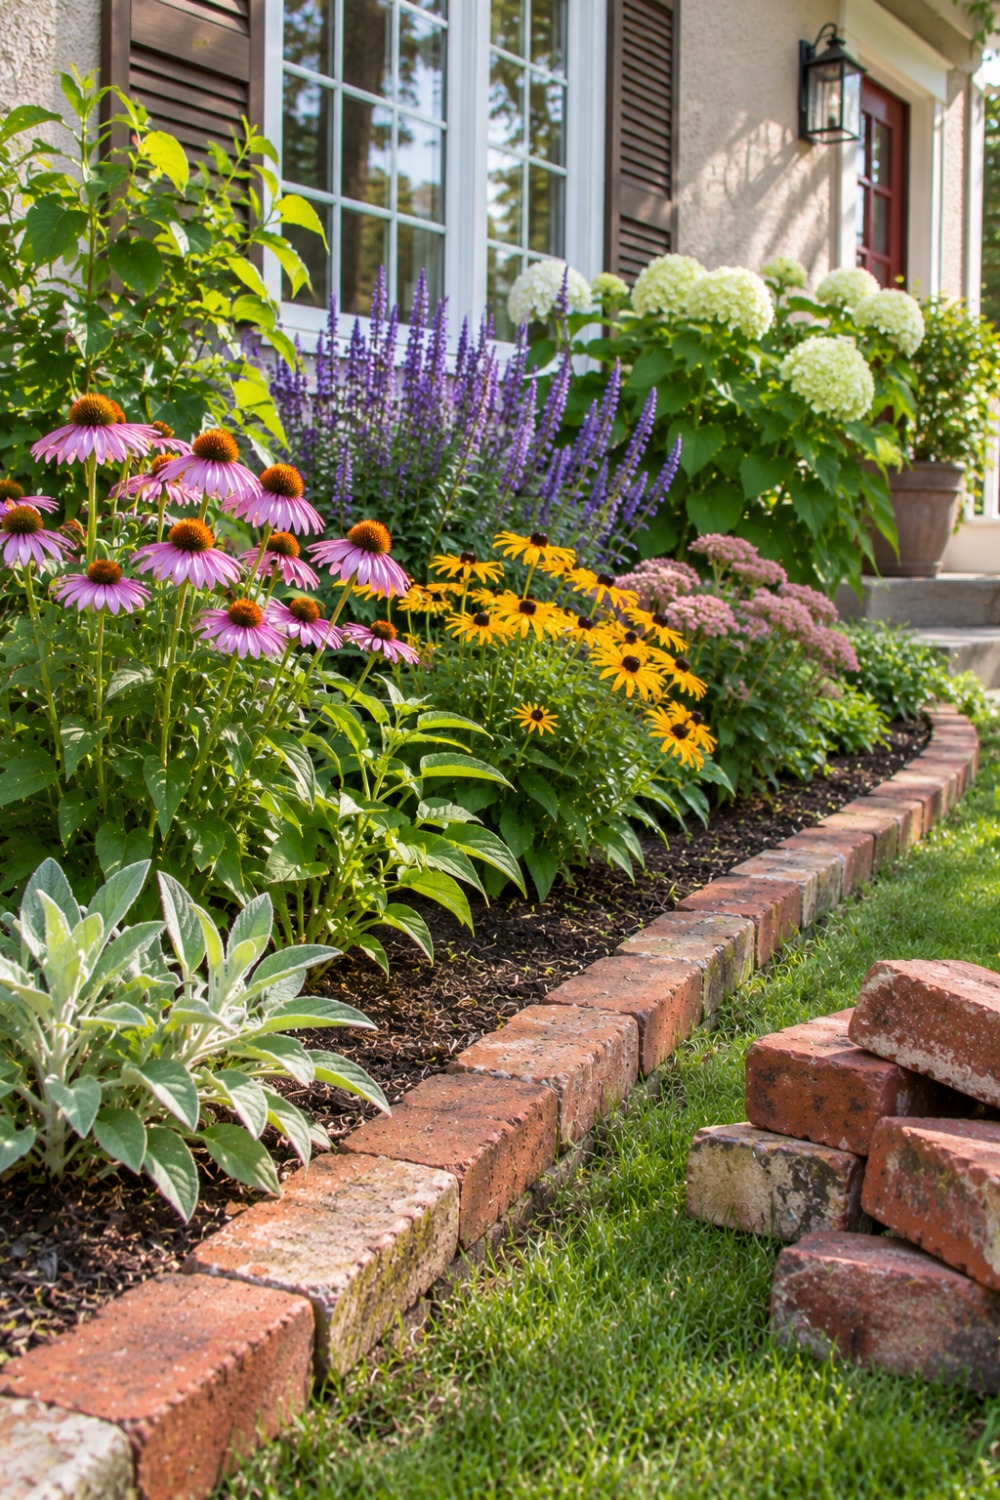
Store-bought edging adds up fast. Leftover bricks, fieldstones or broken concrete pieces often cost nothing.
Check online marketplaces, renovation sites and your own garage. People regularly give away bricks and stones just to get them hauled off.
Set them in a shallow trench so they sit level and don’t shift when you mow.
How to do it:
- Dig a trench half the depth of your bricks or stones.
- Bed them in sand or soil and tap them level.
- Keep the mower wheel on the edging to avoid hand trimming.
14. Add One Boulder or Stump as a Natural Focal Point
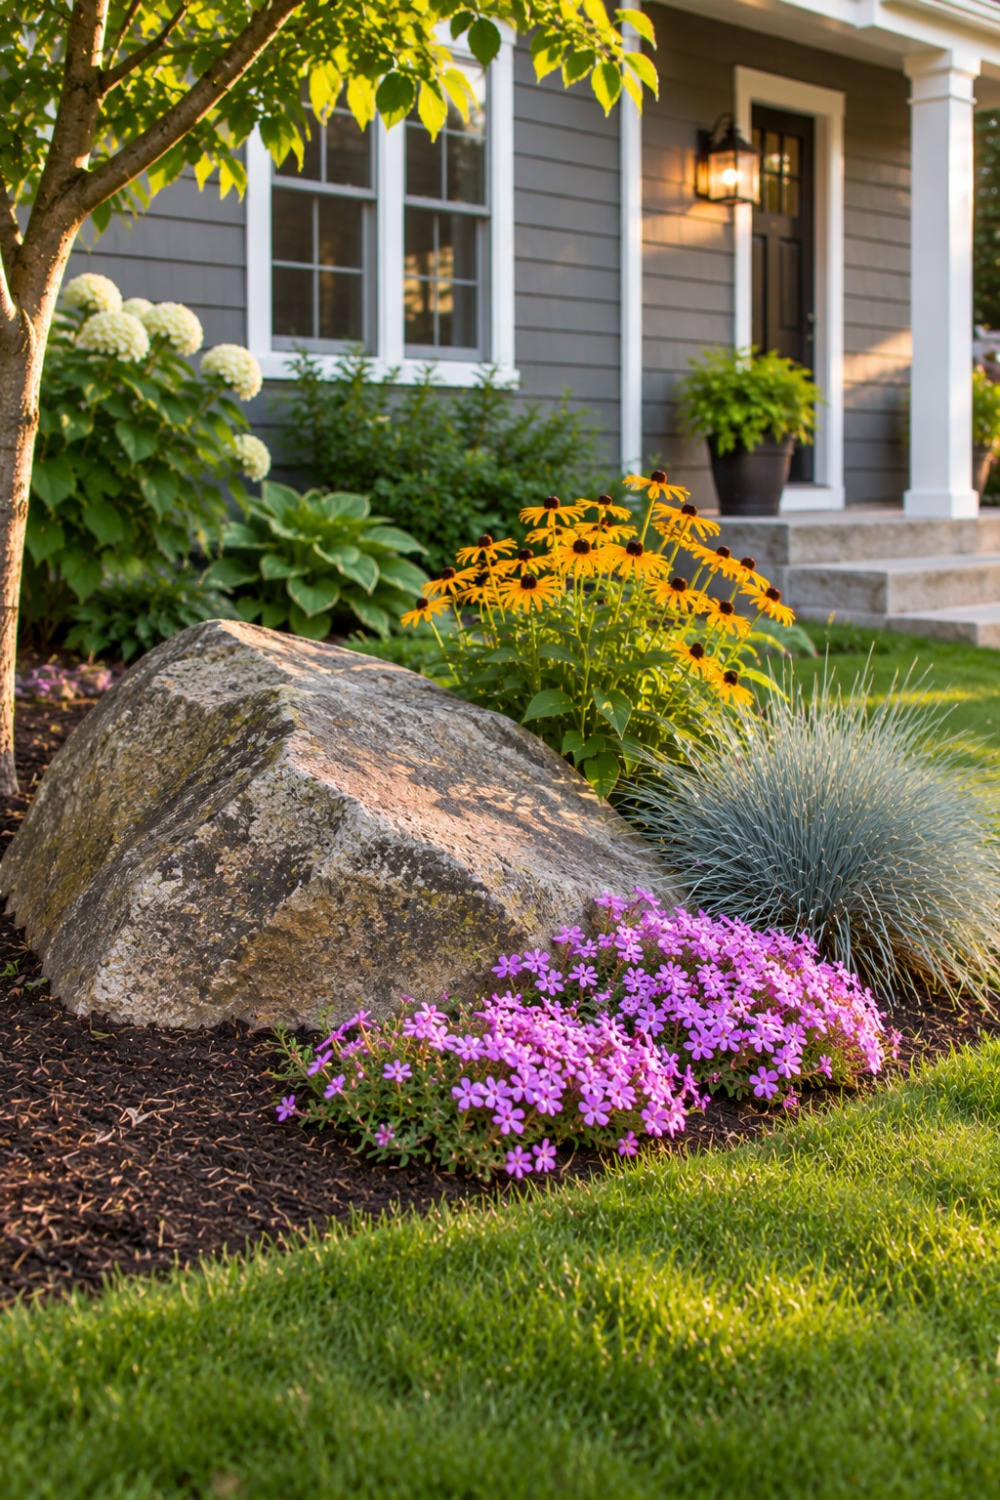
A single large rock or an old tree stump can anchor a bed and give the eye somewhere to rest.
Landscape supply yards sell boulders individually, and sometimes excavation sites will give them away.
Bury the bottom third so it looks like it has always been there, then tuck low grasses and flowers around its base.
How to do it:
- Choose a stone in proportion to the bed, not the whole yard.
- Bury it partly and angle it naturally.
- Plant a small group of perennials on one side only.
15. Line the Walk With Solar Path Lights
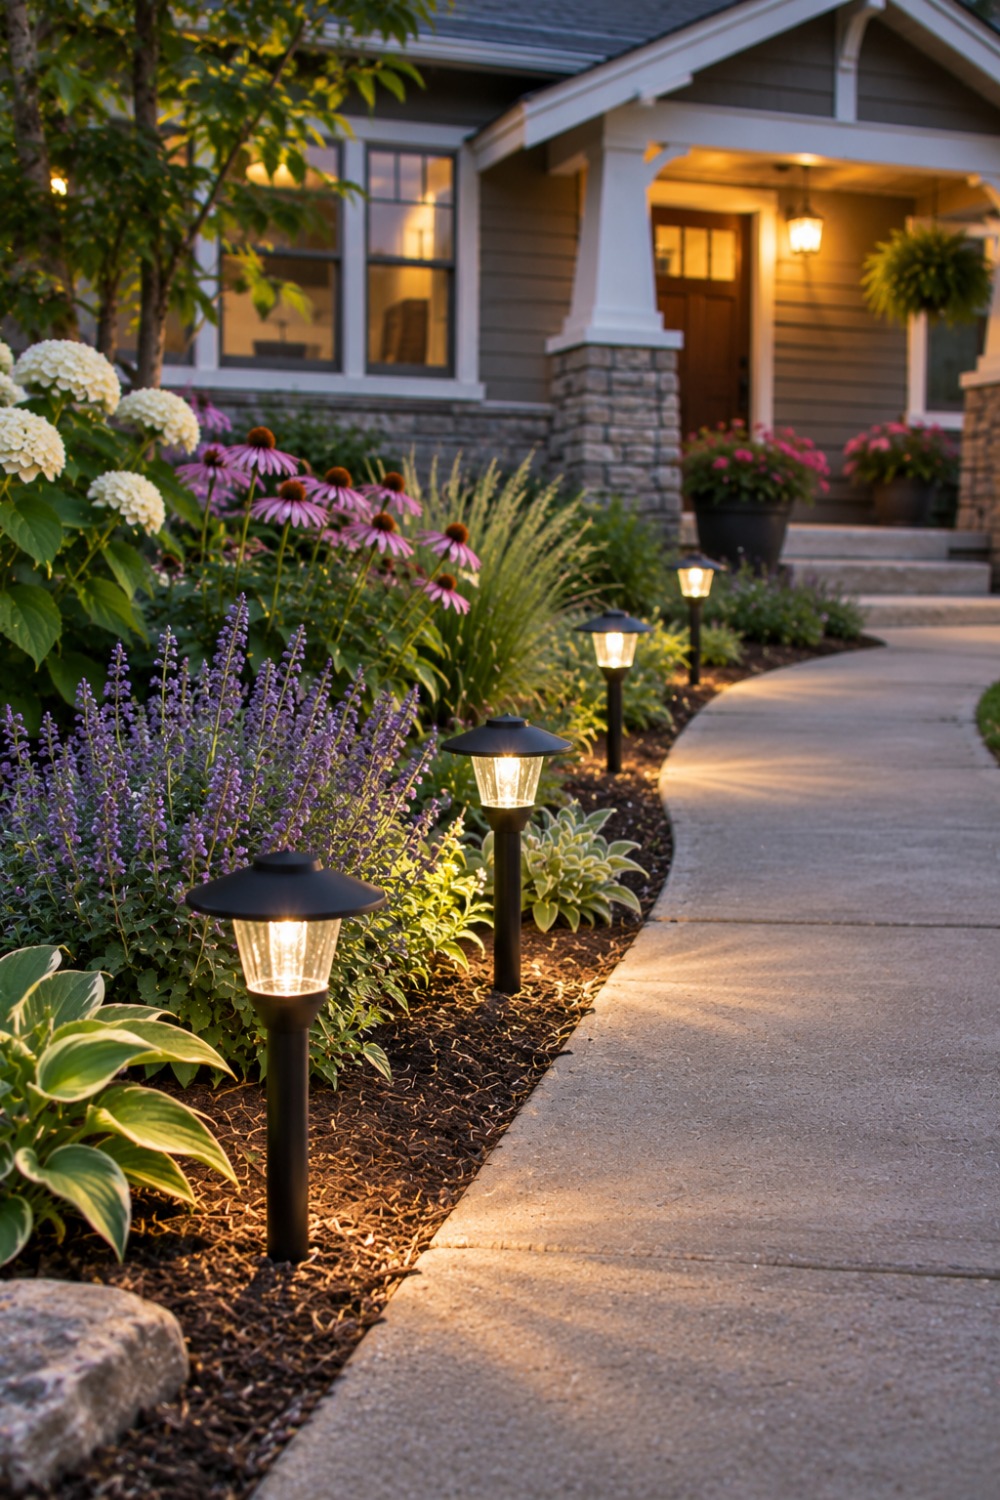
Lighting makes a front yard look cared for after dark, and solar path lights need no wiring at all.
They also make steps and walkways safer for guests.
Space them along one side of the walk in a gentle zigzag rather than lining both sides like a runway.
How to do it:
- Place lights where they get several hours of direct sun.
- Space them about 6 to 8 feet apart.
- Wipe the panels clean every few months so they charge fully.
16. Dress Up the Mailbox Post With a Small Planting
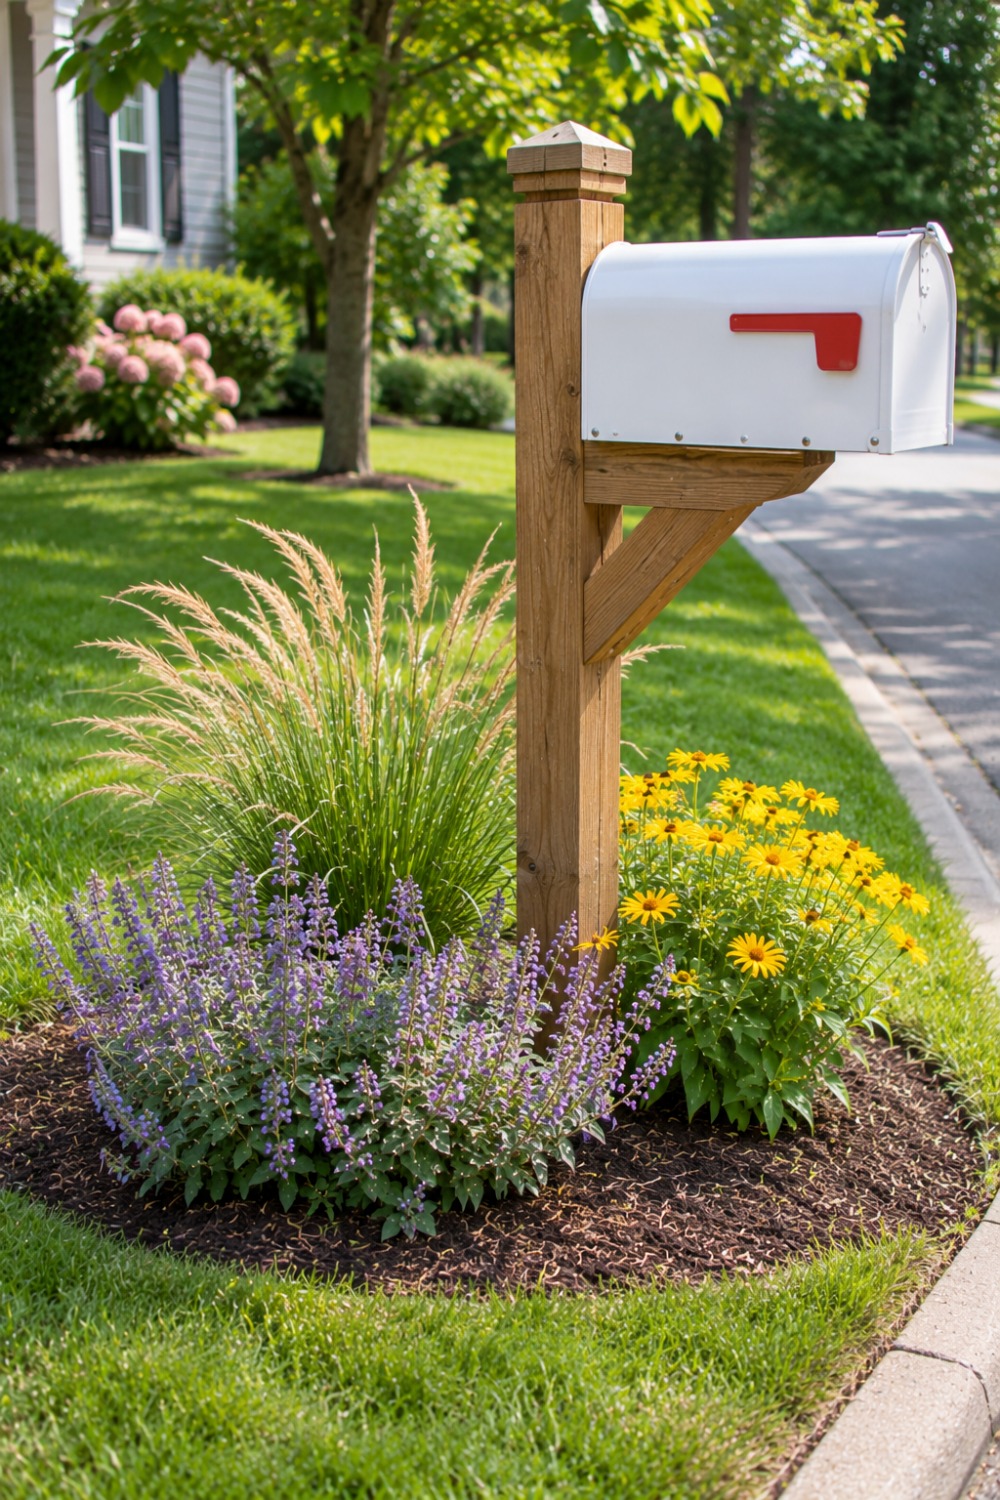
The mailbox is the first thing many visitors see, and a tiny bed around its post costs very little.
A ring of mulch, a few low perennials and one taller plant are enough.
Choose tough, drought-tolerant plants, since this spot is usually far from the hose and close to road salt or heat.
How to do it:
- Remove grass in a circle or square around the post.
- Plant three to five low perennials around it.
- Leave a clear path for the mail carrier.
17. Plant a Small Tree Where It Will Frame the House
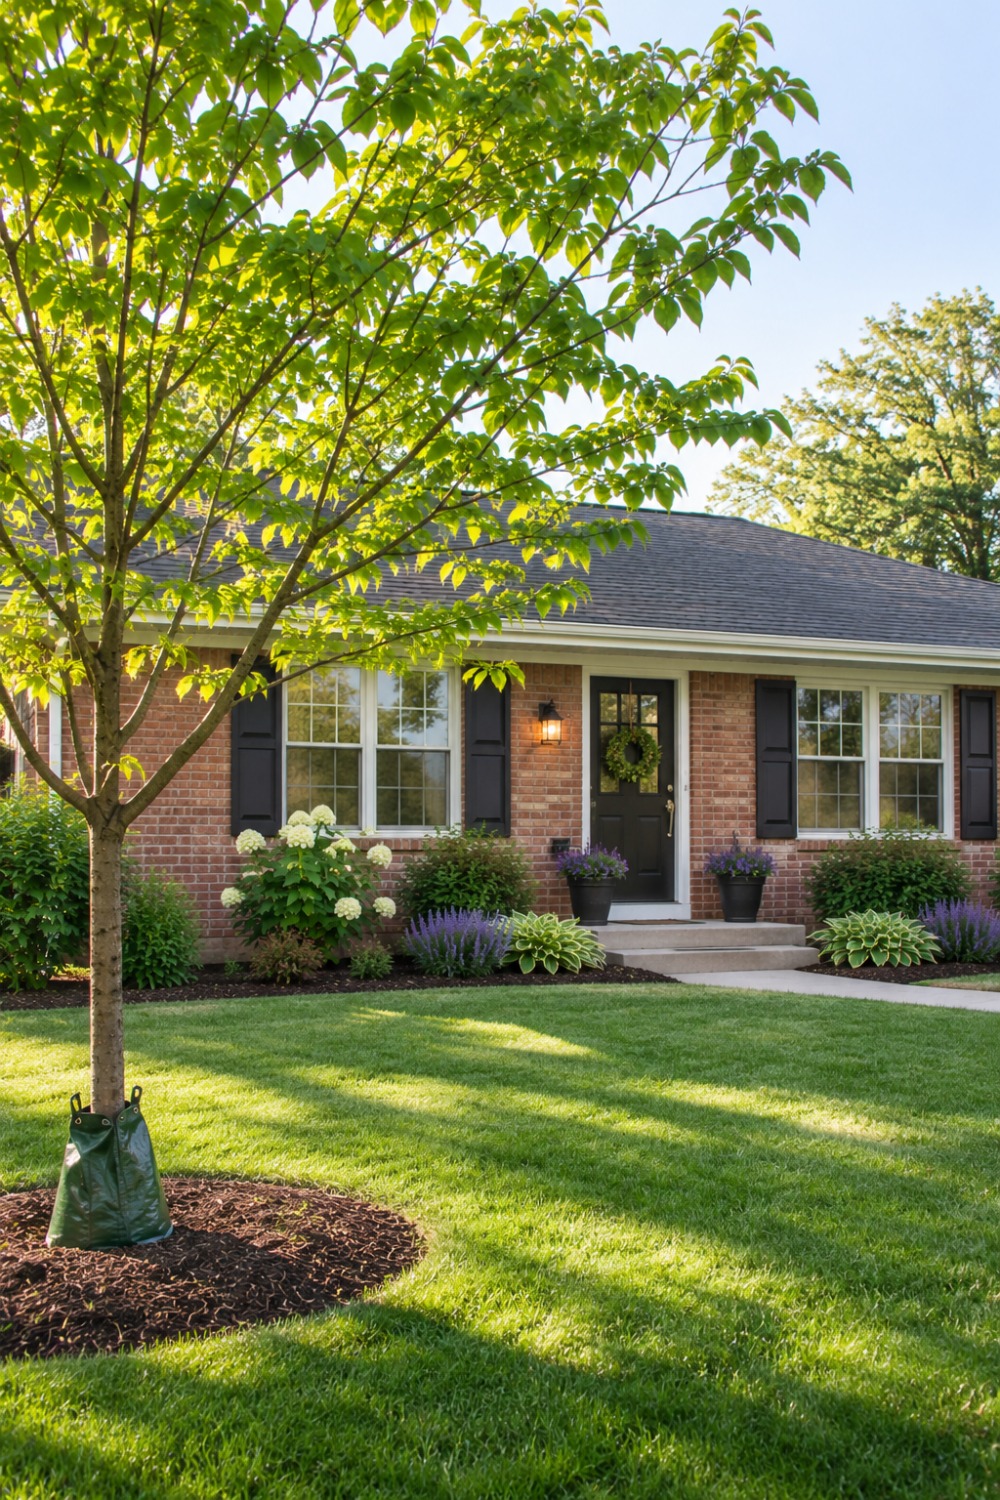
A tree adds height, shade and a sense of maturity that no amount of flowers can match.
Young saplings and bare-root trees are much cheaper than large specimens and often establish faster.
Place it off to one side of the house, not in the middle, so it frames the view instead of blocking it.
How to do it:
- Check the tree’s mature height and width before buying.
- Plant well away from the foundation, driveway and overhead lines.
- Water deeply once or twice a week through its first summer.
Pro tip: ask your local nursery which small trees suit your zone. Native trees are often less expensive and better adapted.
18. Mix Herbs and Edibles Into the Front Border
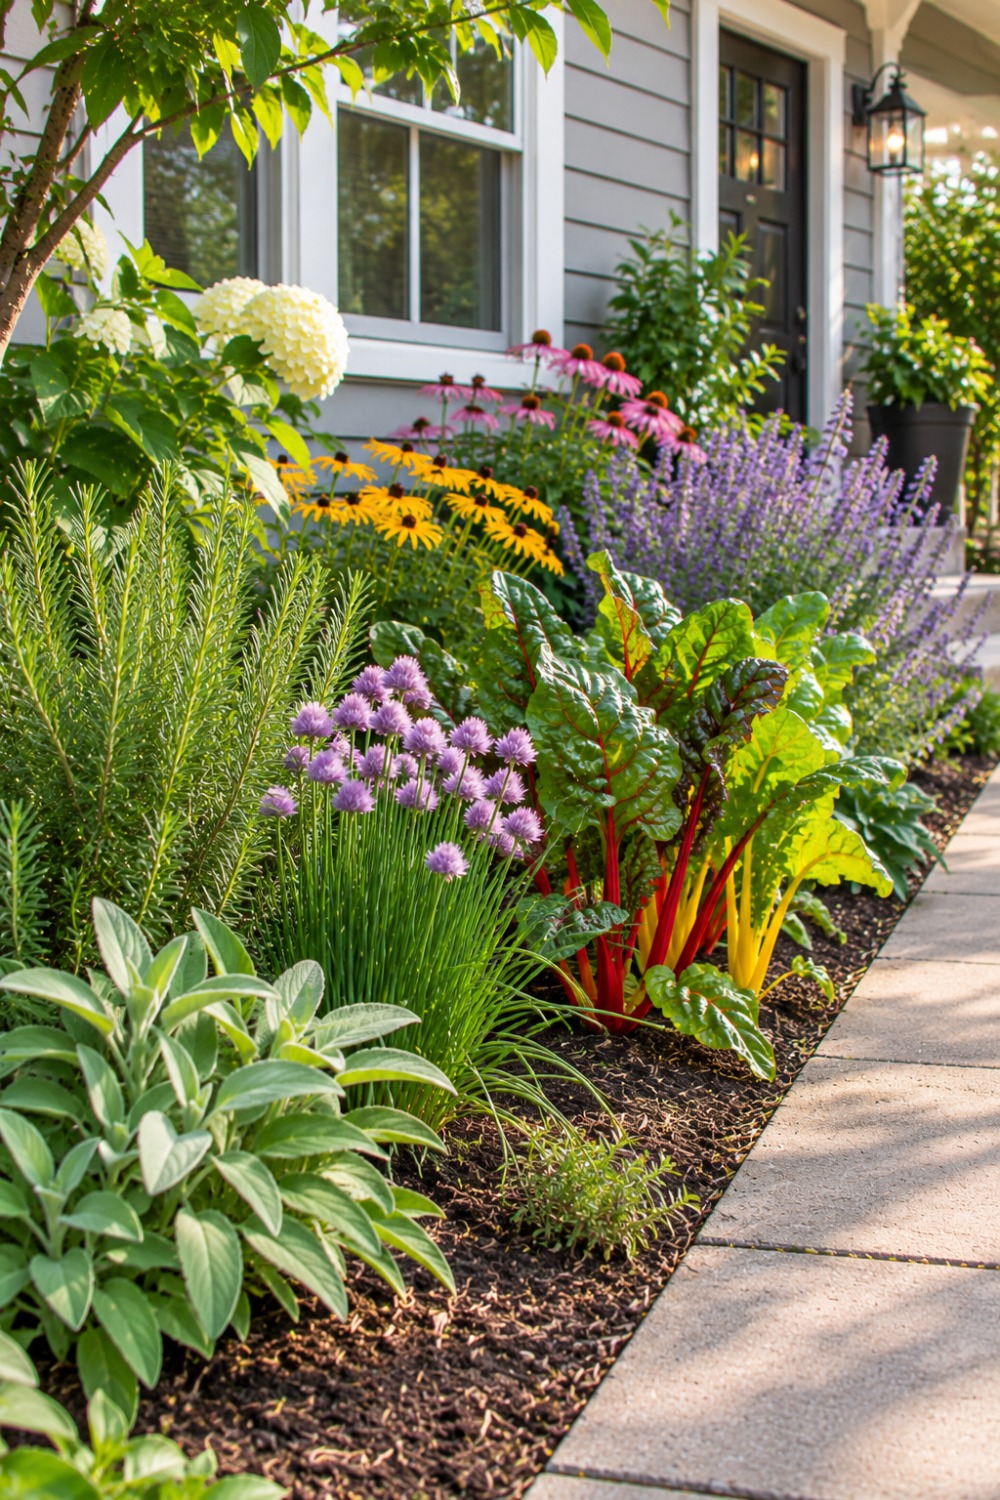
Edible plants can look just as good as ornamentals and give you something back.
Rosemary, sage, thyme, chives and rainbow chard all have attractive leaves and fit neatly into a sunny front bed.
Keep them tidy and group them like any other planting, so the bed still reads as a designed garden.
How to do it:
- Check that your HOA or local rules allow edibles in front yards.
- Plant herbs in groups along the sunny front edge.
- Harvest regularly so plants stay compact and leafy.
19. Let Window Boxes Carry the Color
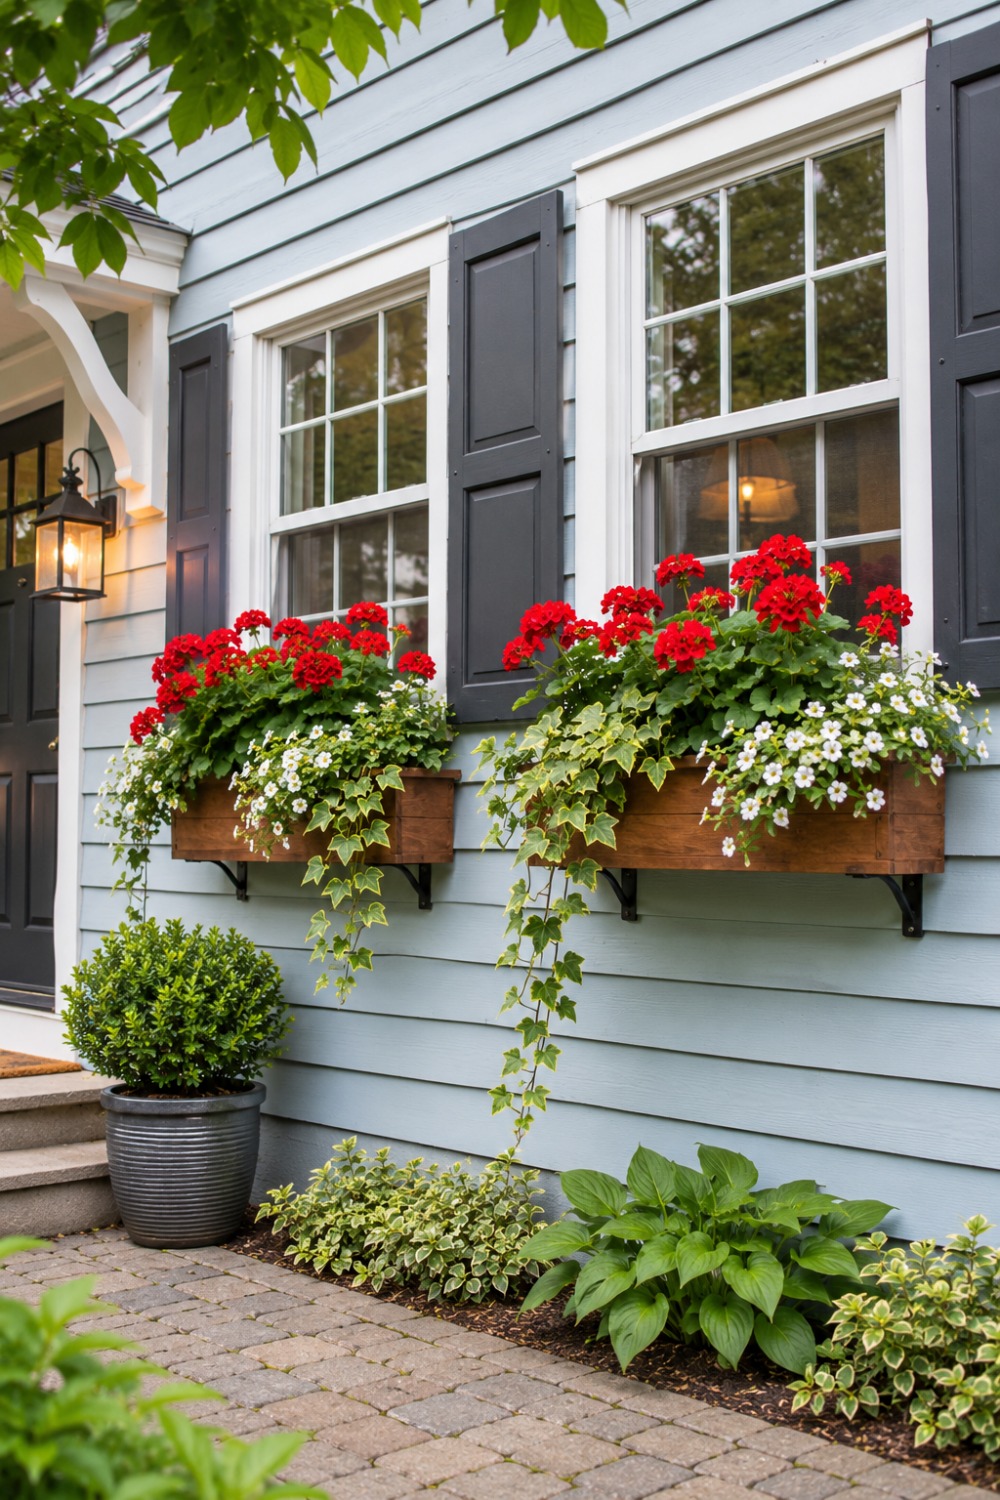
If your front yard is tiny, shaded or mostly paving, window boxes put the color at eye level.
They’re especially good for renters and townhouses, since they don’t involve digging up the yard.
Choose plants for the light that window gets, and pick colors that contrast with your siding or trim.
How to do it:
- Measure the window and buy a box the same width or slightly wider.
- Use brackets rated for the weight of wet soil.
- Water often, since boxes dry out faster than beds.
20. Plant Native Grasses for Texture All Year
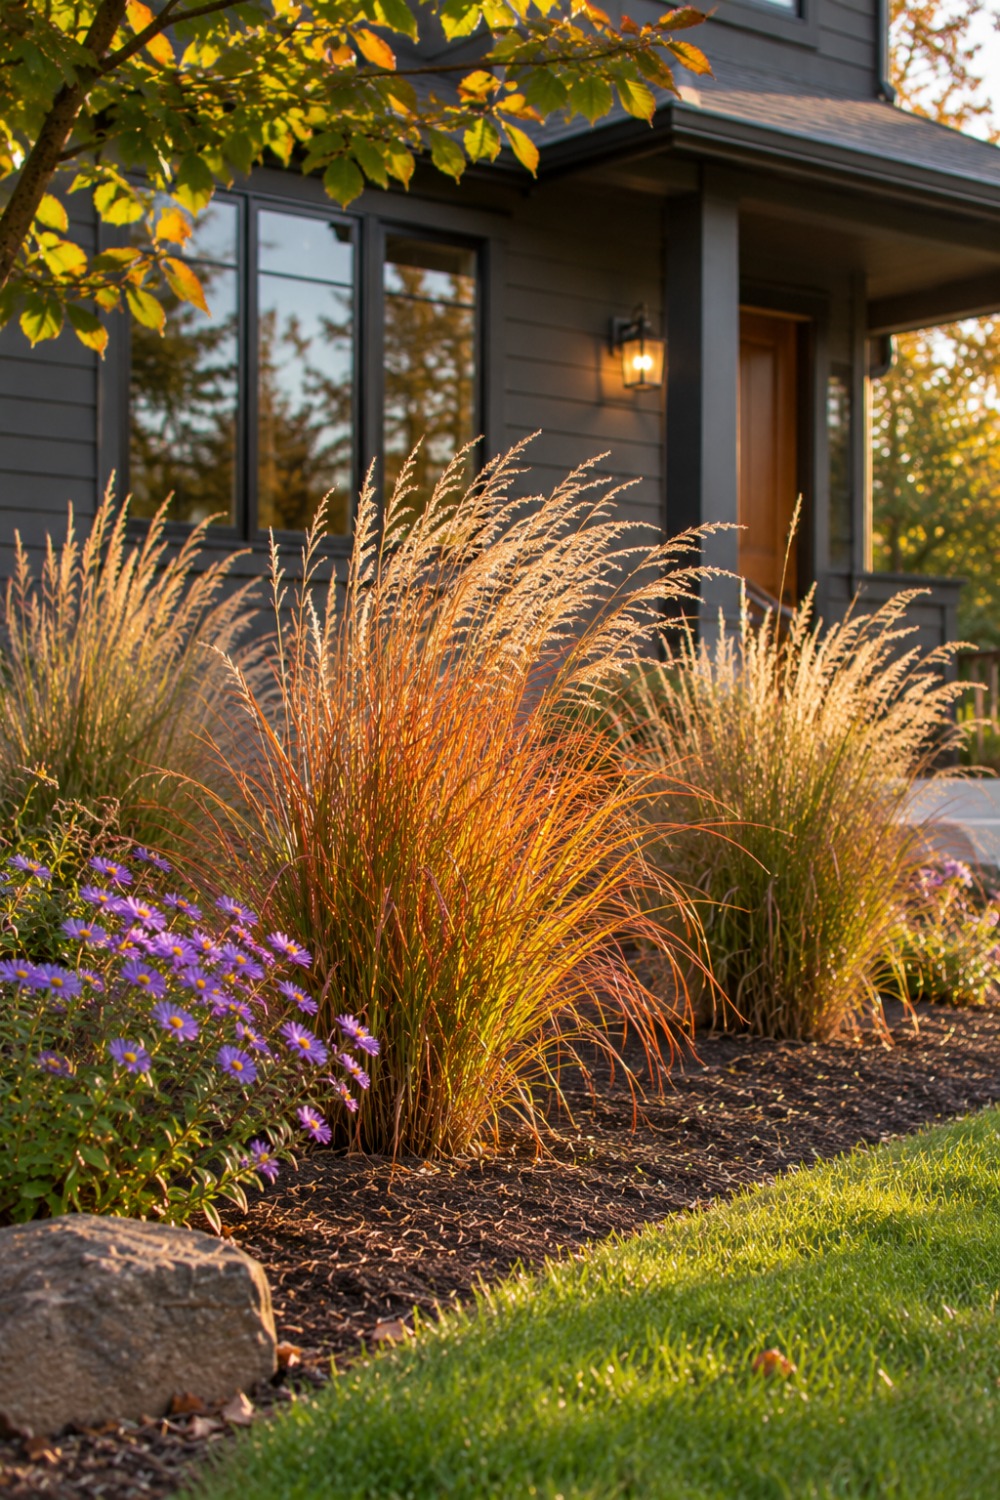
Ornamental grasses such as little bluestem and feather reed grass look good from early summer right through winter.
They’re low maintenance, rarely bothered by pests and only need cutting back once a year in late winter.
Many native grasses also need little extra watering once their roots are established.
How to do it:
- Plant grasses in groups of three or five.
- Give them full sun and well-drained soil.
- Cut them back to a few inches tall before new growth starts.
21. Shop End-of-Season Sales and Plant Swaps
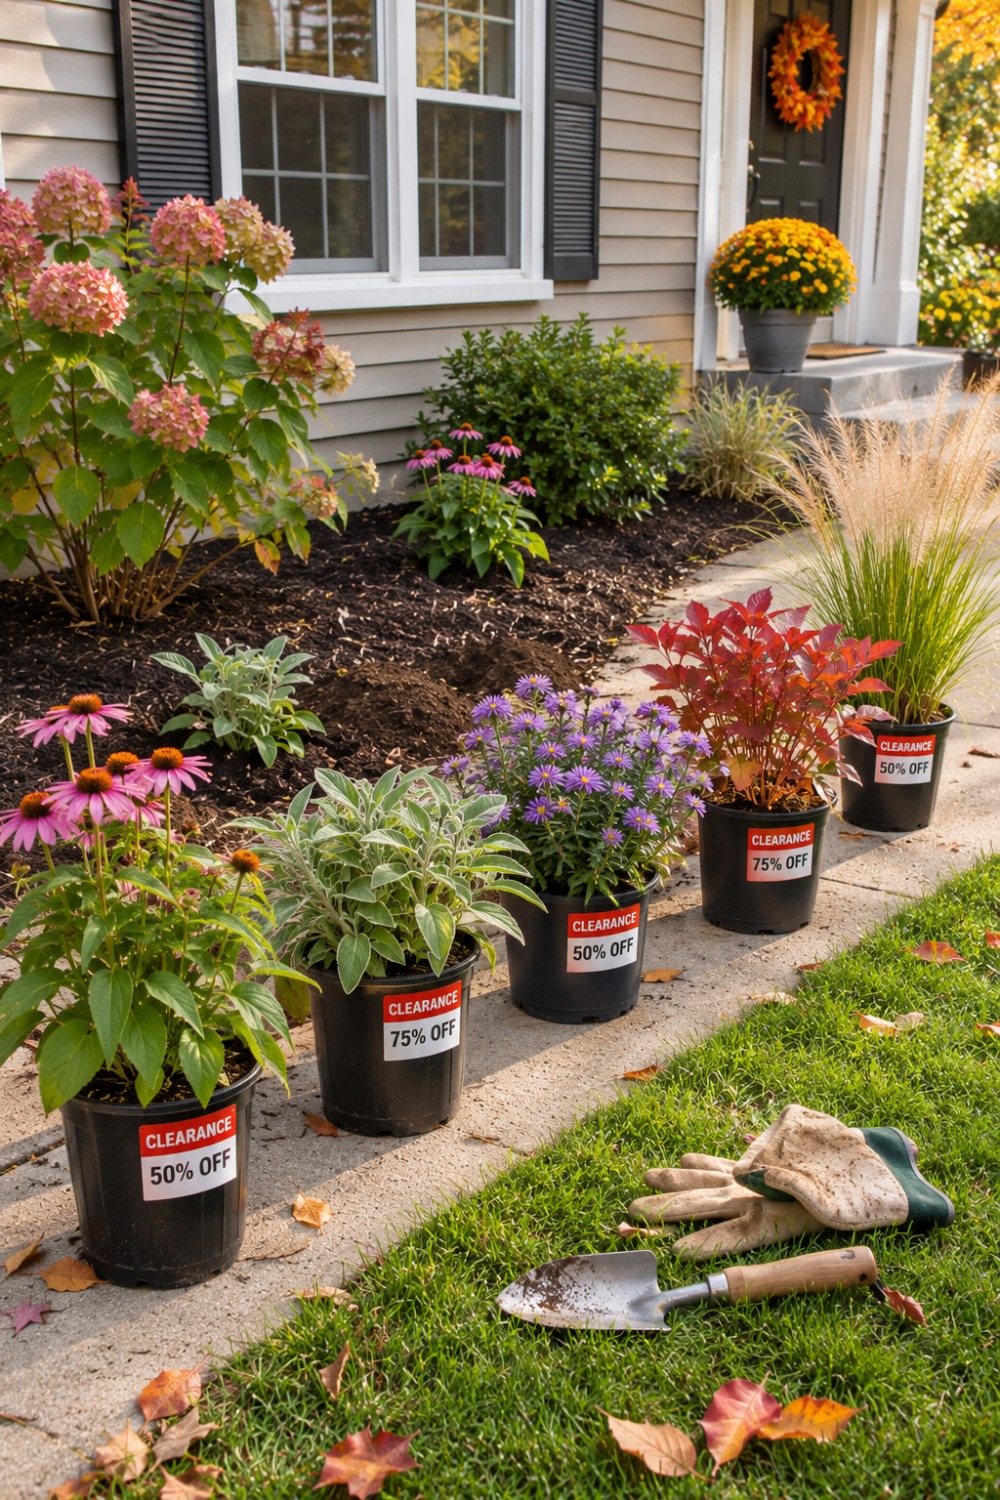
Garden centers mark down perennials, shrubs and trees heavily in late summer and fall to clear stock.
A slightly scruffy perennial planted in fall often bounces back stronger next spring.
Combine sale shopping with free divisions and seed-grown annuals, and you can fill beds for a fraction of full price. Pair long-blooming coneflowers with grasses for a border that looks good for months.
How to do it:
- Check roots, not just leaves: avoid pots full of circling roots.
- Plant fall purchases at least six weeks before the ground freezes.
- Water through dry autumn spells.
Frequently Asked Questions
What is the cheapest way to landscape a front yard?
Start with free work: weed, edge the beds and prune. Then add mulch, divide existing perennials and grow annuals from seed. Free wood chips from tree crews and second-hand bricks or stones can cover paths and edging for very little.
How can I make my front yard look nice without grass?
Replace lawn with mulched beds, low ground covers, a gravel path and groups of shrubs and grasses. Cardboard sheet mulching lets you remove grass without digging. Repeat a few plants in groups so the space still looks planned.
What are the best low-maintenance plants for a cheap front yard?
Tough perennials such as daylilies, black-eyed Susans and coneflowers, ornamental grasses, and ground covers like creeping thyme or sedum are good starting points. Ask a local nursery which ones thrive in your zone and soil.
When is the best time to do front yard landscaping on a budget?
Spring and early fall are ideal for planting, and fall is when garden centers discount plants. Plan and prepare beds in winter so you’re ready to plant when prices and weather are right.
Final Thoughts: Start Small and Let Your Front Yard Grow
A cheap, simple front yard isn’t about doing everything at once.
Start with the free jobs: weeding, edging and pruning. They make the biggest difference for the least money, and they show you where the real gaps are.
Next, pick one focal point, usually the front door, and spend a little there first. A pair of containers or a clean path to the door changes how the whole house looks from the street.
Then fill beds gradually with plants that cost little or nothing: divisions from friends, seed-grown annuals and sale perennials planted in fall.
Repeat the same few plants in groups, keep a fresh layer of mulch down and let tough natives and grasses do the heavy lifting.
Every region is different, so check with a local nursery or extension office about plants that thrive where you live.
Do a little each season, and within a year or two your front yard will look like it was designed, not just maintained.